


Your Cart Is Our Priority
Explore our store to see what our products and resources can do for you.

TL;DR:
- Golf cart steering alignment involves setting the correct toe-in angle between front tires for straight tracking and safe handling. Proper measurement, accurate adjustments, and torqueing of tie rods are essential to maintain the specified 1/8 to 1/4 inch toe-in, preventing uneven tire wear and steering issues. Regular checks and replacing worn parts ensure the alignment stays precise and the cart handles safely.
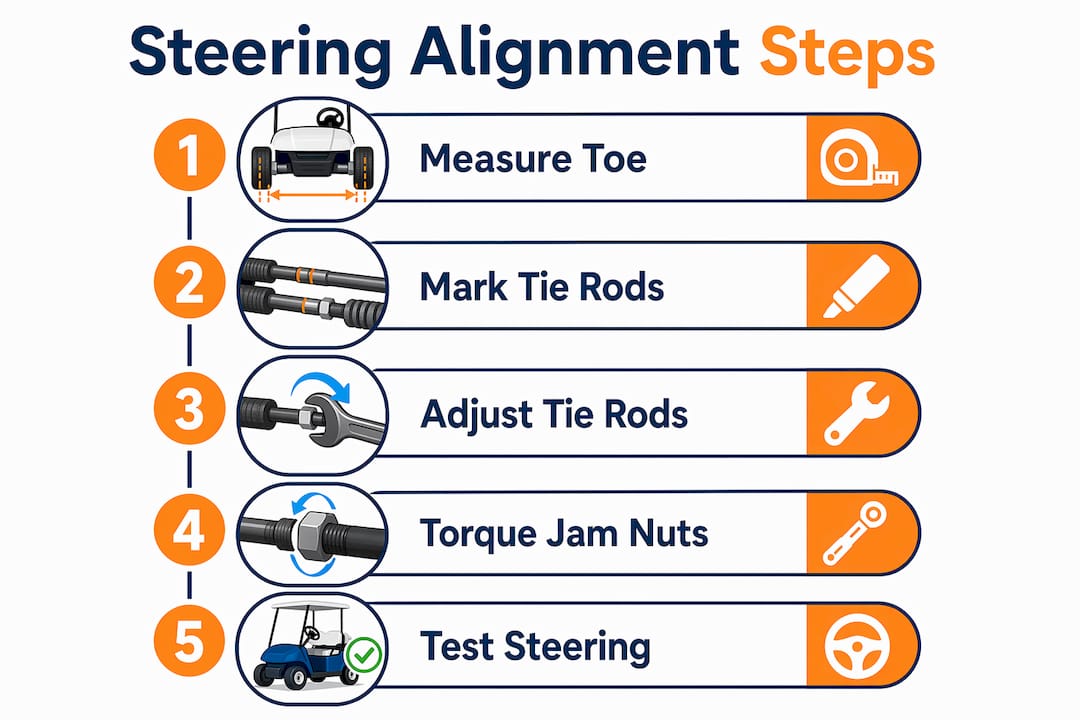
Golf cart steering alignment is defined as the process of setting the correct toe angle between the front tires so the cart tracks straight and handles safely. Most golf carts require a toe-in of 1/8 to 1/4 inch, meaning the front edges of the tires sit slightly closer together than the rear edges. When that spec drifts, you get uneven tire wear, a cart that pulls to one side, and steering that fights you through every turn. The fix starts with the right golf cart steering alignment steps, two tie rods, and about an hour of focused work.
Getting the prep right saves you from repeating measurements. A misleveled surface or low tire pressure will throw off every reading before you even touch a tie rod.
Tools you need:
Prep steps before you measure:
Pro Tip: Spray penetrating oil on the jam nuts at least 15 minutes before you start. Stubborn jam nuts are the number one reason DIY alignment jobs stall. Let the oil soak in while you gather your tools.
Accurate measurement is the foundation of proper steering alignment. Rushing this step leads to chasing a number that was never real.
Use this table to interpret your result:
| Measurement result | Condition | Action needed |
|---|---|---|
| Rear is 1/8–1/4 inch greater than front | Correct toe-in | No adjustment needed |
| Rear equals front | Zero toe | Minor adjustment needed |
| Front is greater than rear | Toe-out | Adjustment required |
| Rear is more than 1/4 inch greater | Excessive toe-in | Adjustment required |
A toe-in reading within the 1/8 to 1/4 inch range means your cart is within spec. Any reading outside that window means you move on to tie rod adjustment.
Pro Tip: Re-measure twice before adjusting. One bad measurement from a bumped tape or an unlevel surface can send you in the wrong direction entirely.
Tie rod adjustment is the core of any golf cart alignment guide. The process is methodical. Small changes add up fast, so patience here pays off.
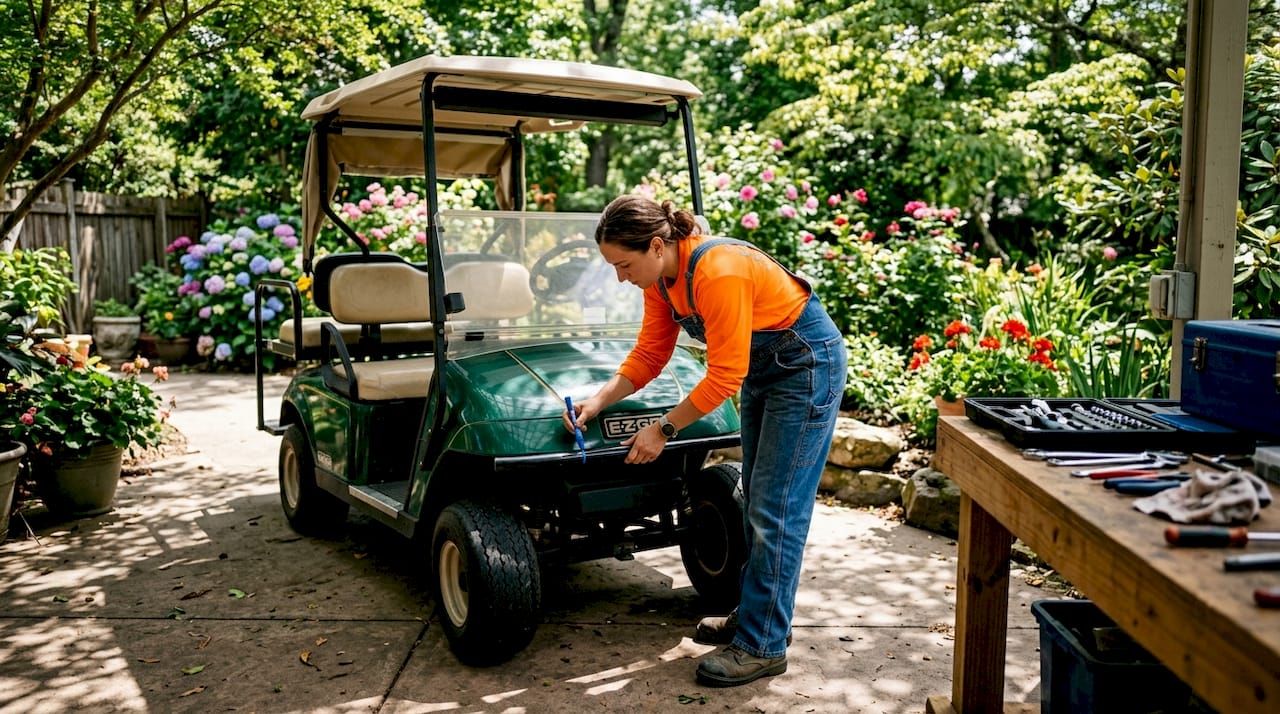
Pro Tip: Mark the tie rod barrel with a paint marker before you start. That reference line shows you exactly how many turns you have made and prevents losing track during multiple adjustment rounds.
One thing most alignment guides skip: check that the steering wheel returns to center after a turn. If it sticks or drags, the problem is not the toe setting. It points to a worn king pin or a binding steering column, which adjustment alone will not fix.
Alignment fixes a specific problem. It does not fix every steering problem. Knowing the difference saves time and prevents replacing parts that are not broken.
Signs that alignment is the real issue:
Signs that something else is wrong:
Misdiagnosed steering issues often trace back to skipping front tire alignment first and jumping straight to electronics or power systems. Check alignment before you check the battery or controller.
Checking for worn components:
Grab each front tire at the 9 o’clock and 3 o’clock positions and try to rock it. Any lateral play points to a worn tie rod end or king pin. Then grab at 12 o’clock and 6 o’clock. Vertical play points to a worn wheel bearing. Both conditions need parts replacement before alignment will hold.
Tire pressure is worth rechecking here too. A tire that is 5 PSI low on one side creates a pull that mimics misalignment. Correct the pressure, re-drive, and re-evaluate before touching the tie rods again.
Professional alignment services typically cost between $75 and $150 and include a full steering component inspection. That inspection is worth the cost once a year even if you handle your own adjustments, because a trained eye catches worn parts before they cause a safety issue.
Correct golf cart toe-in of 1/8 to 1/4 inch, achieved through equal tie rod adjustments and jam nuts torqued to 15–20 ft-lbs, is the standard for safe and stable steering.
| Point | Details |
|---|---|
| Set tire pressure first | Equal pressure on all four tires is required before any toe measurement is valid. |
| Roll the cart before measuring | Rolling 7–10 feet settles steering components and gives accurate toe readings. |
| Adjust in quarter-turn increments | Small, equal changes on both tie rods keep the steering wheel centered and prevent overshooting. |
| Torque jam nuts after adjustment | Tighten jam nuts to 15–20 ft-lbs to lock in the alignment setting during operation. |
| Persistent misalignment signals bent parts | If toe-in cannot be reached after adjustment, inspect for bent spindles or steering arms before driving. |
The first time I worked through a golf cart alignment, I made the classic mistake: I adjusted the tie rods by feel and skipped the second measurement after rolling the cart. The steering felt better, so I called it done. Two weeks later the inside edges of both front tires were chewed up. The cart had been running with excessive toe-in the whole time.
What changed my approach was treating the tape measure as the final word, not my hands. The numbers do not lie. Your hands do. A tie rod that feels tight might have moved a full half turn more than you intended. A jam nut that feels snug might be two ft-lbs short of spec. The torque wrench and the tape measure together are what make an alignment stick.
The other thing I see owners get wrong is adjusting one tie rod more than the other to “fix” a steering wheel that sits crooked. That approach masks the real problem. If the wheel is off-center, the issue is usually that the toe was set correctly on one side and incorrectly on the other during a previous adjustment. Start fresh, measure both sides equally, and the wheel will center itself.
Routine alignment checks every 6 to 12 months are worth building into your golf cart maintenance schedule. A cart that gets regular use on uneven terrain or cart paths shifts out of spec faster than one used on flat fairways. Catching a small drift early costs you 20 minutes. Ignoring it costs you a set of tires.
DIY alignment is genuinely within reach for most owners. The process rewards patience and punishes shortcuts. Get the prep right, measure carefully, and adjust in small steps. That is the whole job.
— Roshan
Alignment work is only as good as the parts holding the adjustment in place. Worn tie rod ends, cracked jam nuts, or out-of-spec replacement parts will undo a perfect adjustment within a few hundred yards.

Golfcartstuff carries steering components, replacement tie rods, and maintenance parts for the most common golf cart models. Whether you drive a Club Car DS, a Yamaha G-series, or another popular platform, finding the right fit matters for alignment to hold. Browse Club Car DS parts or Yamaha G1-G22 parts to find model-specific steering components that meet factory specs. Using correct replacement parts means your alignment settings stay where you put them.
Most golf carts require a toe-in of 1/8 to 1/4 inch, meaning the front edges of the front tires sit slightly closer together than the rear edges. This spec applies to the majority of gas and electric cart models.
Check alignment every 6 to 12 months, or any time the cart pulls to one side, shows uneven tire wear, or has hit a curb or rough terrain. Regular checks prevent tire damage and keep handling safe.
You can measure and adjust toe without a torque wrench, but you need one to tighten jam nuts correctly. Jam nuts torqued to 15–20 ft-lbs hold the alignment setting during operation. Under-tightened nuts allow the tie rods to shift and the alignment to drift quickly.
Alignment that will not hold after adjustment usually points to worn tie rod ends, loose jam nuts, or bent steering components. Persistent misalignment after correct tie rod adjustment is a definitive sign that a part needs replacement, not further adjustment.
Stiff steering is not typically caused by misalignment. It points to worn king pins, seized steering components, or a binding column. Alignment corrects drift and tire wear. Stiff steering requires mechanical inspection and likely parts replacement.
Explore our store to see what our products and resources can do for you.

Leave a comment