


Your Cart Is Our Priority
Explore our store to see what our products and resources can do for you.

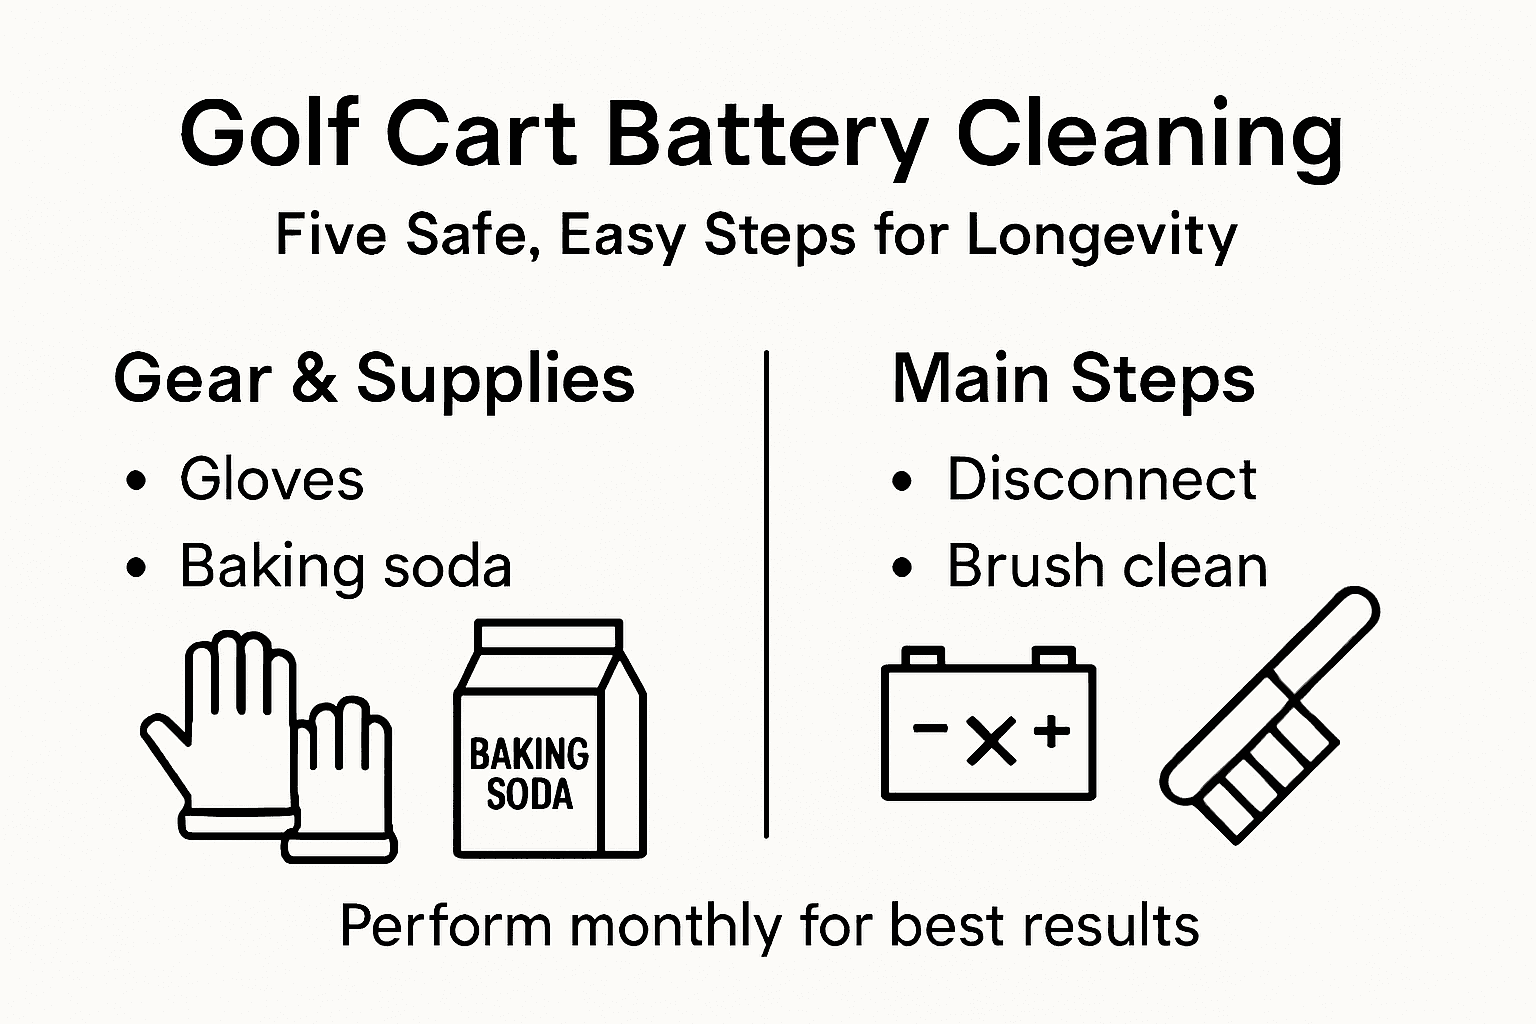
Golf cart batteries often collect grime and corrosion that can lead to power loss and costly repairs. For many Canadian and American owners, tackling battery cleaning at home is one of the smartest ways to protect your investment and keep your cart running smoothly. With the right protective gear and cleaning supplies, you can perform this routine safely and confidently, lowering risks while adding years to your battery’s service life.
| Main Message | Clarification |
|---|---|
| 1. Gather Protective Gear | Always equip yourself with gloves, safety glasses, and other essential tools to ensure safety during battery cleaning and maintenance. |
| 2. Disconnect Batteries Safely | Follow the correct procedure to disconnect battery terminals, starting with the negative terminal to prevent short-circuits and ensure safe inspection. |
| 3. Remove Corrosion Thoroughly | Use a baking soda solution and a stiff-bristled brush to scrub off corrosion, ensuring clear electrical connections for optimal battery performance. |
| 4. Reconnect in Proper Order | Reconnect battery terminals starting with the positive terminal, ensuring all connections are secure to prevent electrical issues. |
| 5. Test Battery Performance Regularly | Use a multimeter to check battery voltage monthly; readings below 12.4 volts may indicate the need for maintenance or replacement. |
Before diving into battery cleaning, gathering the right protective equipment and cleaning supplies is crucial for a safe and effective maintenance process. Practical battery cleaning requires careful preparation to ensure both your safety and the battery’s longevity.
To get started, you’ll need to assemble a comprehensive cleaning kit that includes several essential items:
Your safety starts with proper preparation. Always turn off the golf cart completely and disconnect the battery before beginning any cleaning process. This eliminates electrical risks and provides a stable environment for maintenance.
Pro tip: Store your cleaning supplies in a dedicated, clean container to keep them organized and prevent contamination between uses.
With your protective gear ready, the next critical step is safely disconnecting and thoroughly inspecting your golf cart batteries. Battery maintenance requires careful disconnection to prevent potential electrical hazards and identify any underlying issues.
Follow these precise steps for safe battery disconnection and inspection:
During your inspection, watch for these critical warning signs:
Careful inspection helps you catch potential problems early and prevents more serious issues down the road. By identifying these warning signs, you can determine whether your battery needs cleaning, repair, or complete replacement.
Here’s a quick reference for identifying battery issues during inspection:
| Issue Observed | Likely Cause | Recommended Action |
|---|---|---|
| Corrosion on terminals | Acid leakage or poor sealing | Clean and apply protectant |
| Damaged cables | Wear or aging | Replace cable immediately |
| Cracks in case | Physical impact or aging | Replace battery for safety |
| Bulging shape | Internal failure or overcharging | Replace battery promptly |
| Acid leakage | Seal failure or damage | Clean carefully; consider replacement |
Systematic battery inspection is your first line of defense against unexpected golf cart performance problems.
Pro tip: Always keep a spare pair of pliers and a backup wrench in your golf cart maintenance kit for unexpected battery work.
With your golf cart battery disconnected, it’s time to tackle the stubborn corrosion and debris that can compromise battery performance. Battery cleaning requires careful chemical neutralization to prevent damage and ensure optimal electrical contact.
Prepare your cleaning solution and tools with these systematic steps:
Your inspection should focus on these key areas:
Thorough cleaning prevents electrical resistance and potential battery failure.
For heavy corrosion, let the baking soda solution sit for a few minutes to help loosen stubborn deposits. Work methodically and carefully, ensuring you neutralize acid residues without damaging the battery components.

Pro tip: Always wear protective gloves and work in a well-ventilated area to minimize exposure to battery acids and corrosive materials.
Compare common types of battery cleaning brushes:
| Brush Type | Material | Safety Benefit |
|---|---|---|
| Synthetic bristle | Plastic/nylon | No sparking hazard |
| Metal wire | Steel/brass | Removes heavy deposits (use with caution) |
| Toothbrush | Soft nylon | Safe for light cleaning |
| Specialized terminal brush | Fiber/nylon | Cleans tight spaces effectively |
With corrosion removed, the final stage of battery maintenance involves carefully rinsing, thoroughly drying, and strategically reconnecting your golf cart batteries. Battery maintenance requires precise reconnection techniques to ensure optimal electrical performance and prevent future corrosion.
Follow these critical steps for a successful battery restoration:
Reconnection sequence is critical for safety:
Proper battery reconnection prevents electrical shorts and maintains consistent power flow.
Take your time during reconnection. Double-check each connection and ensure everything is properly seated and tightened. A careful approach prevents potential electrical issues and extends your battery’s operational life.
Pro tip: Invest in a small wire brush for maintaining clean battery terminals between full cleaning sessions to minimize future corrosion buildup.
With your golf cart batteries cleaned and reconnected, the final crucial step is verifying their electrical health and performance. Battery testing confirms restoration effectiveness through precise voltage measurements and diagnostic checks.
To conduct a comprehensive battery performance test, you’ll need the following tools:
Follow these systematic testing steps:
Consistent battery testing is your first line of defense against unexpected electrical failures.
Pay close attention to individual battery performance. Significant voltage variations between batteries might signal that some units are failing and require replacement. A thorough test helps you catch potential problems before they strand you on the golf course.
Pro tip: Perform a battery voltage test monthly to track gradual performance changes and predict potential future maintenance needs.
Cleaning your golf cart batteries safely is essential to extend their life and maintain peak performance. The challenge of removing corrosion and preventing future damage is one every golf cart owner faces. If you want to protect your investment and avoid unexpected battery failures, having the right parts and accessories on hand makes all the difference.

Explore our wide range of quality golf cart battery accessories and maintenance tools at GolfCartStuff. From protective gloves to terminal protectants, we provide everything you need to follow safe battery cleaning steps and keep your batteries in excellent condition. Visit GolfCartStuff today, and take control of your golf cart’s power system with confidence.
Before starting, gather protective gear such as rubber gloves and safety glasses, along with cleaning supplies like baking soda and a stiff-bristled brush. This preparation ensures your safety and the battery’s longevity.
To safely disconnect your batteries, first turn off the golf cart completely. Disconnect the negative terminal first, followed by the positive, to prevent accidental short-circuiting during the process.
Mix a solution of one tablespoon of baking soda in a cup of warm water, and use a stiff-bristled, non-metallic brush to scrub the corroded areas gently. Ensure you thoroughly clean all visible corrosion to promote optimal electrical contact.
Reconnect your batteries by attaching the positive terminal first, followed by the negative terminal. Make sure all connections are tight and secure to avoid electrical shorts, which can impact performance.
Use a digital multimeter set to DC voltage to check the battery’s resting voltage by touching the probes to the respective terminals. A healthy 12V battery should read between 12.6 and 12.8 volts; anything lower may indicate issues that require attention.
Aim to clean your golf cart batteries at least every 6 months or whenever you notice corrosion buildup. Regular cleaning helps maintain performance and extends the overall life of your batteries.
Explore our store to see what our products and resources can do for you.

Leave a comment