


Your Cart Is Our Priority
Explore our store to see what our products and resources can do for you.

TL;DR:
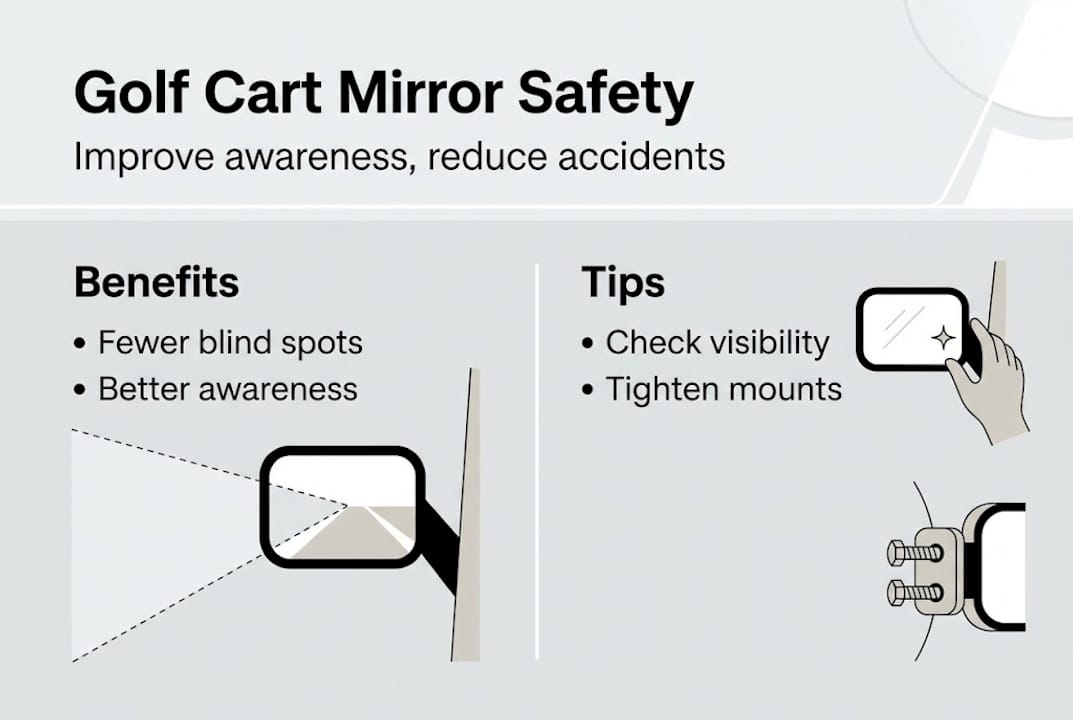
- Mirrors enhance safety by reducing blind spots and increasing awareness of surroundings.
- Proper installation and regular adjustments are essential for stable, effective visibility.
- Choosing high-quality, golf cart-specific mirrors ensures durability and optimal performance.
Driving a golf cart without mirrors puts you at a real disadvantage. You lose sight of what’s behind you, miss pedestrians cutting across paths, and create unnecessary risk for everyone nearby. Mirrors help prevent blind spots and increase on-road safety, making them one of the most practical upgrades you can add. The good news is that installing golf cart mirrors is a straightforward project most owners can tackle in an afternoon with basic tools. This guide walks you through every step, from choosing the right mirrors to fine-tuning the final angle for crystal-clear visibility.
| Point | Details |
|---|---|
| Safety first | Mirrors drastically improve your awareness and help prevent accidents on every drive. |
| Choose the right mirrors | Select model-compatible, automotive-grade mirrors for the best fit and performance. |
| Step-by-step install | Follow each installation stage carefully and double-check adjustment for optimal visibility. |
| Troubleshoot for perfection | Common mistakes can be avoided with secure mounting and regular post-installation checks. |
Mirrors do more than let you see what’s behind you. They create a wider awareness of your entire driving environment, including pedestrians, cyclists, other carts, and vehicles sharing the path or road. On a busy course or neighborhood street, that extra visibility can make the difference between a smooth ride and a serious incident.
The safety case is straightforward: mirrors significantly reduce blind spots and potential accidents when driving a golf cart. Even slow-moving carts traveling at 15 to 20 mph can cause real harm without proper sightlines. Add passengers, cargo, or tight turns, and the risk only grows.
Beyond safety, compliance is a growing concern. Many states and municipalities now require golf carts operated on public streets to meet specific equipment standards, and mirrors are frequently on that list. Check your local ordinances before you hit the road. Ignoring these rules can result in fines or being prohibited from operating your cart on public paths.
Even if you only drive on a private course or your own property, mirrors still matter. Here is why they deserve your attention:
Think about how mirror safety benefits translate to everyday use. A quick glance at your rear-view before reversing out of a cart path takes less than a second but could prevent a collision with a trailing cart or a child on foot.
After understanding the importance of mirrors, it’s time to identify exactly what you’ll need to install them.
Before you touch a single bolt, take five minutes to gather everything you need. Starting mid-project only to realize you’re missing a drill bit wastes time and leads to shortcuts that affect the final result.
Common tools and supplies checklist:
For the mirrors themselves, choose automotive-grade mirrors designed specifically for golf carts to get the best fit and durability. Generic mirrors from a hardware store might look similar, but they often lack the right mounting hardware or fail to hold their angle after repeated vibration.
Here is a quick comparison of common mirror types to help you choose:
| Mirror type | Best for | Mounting style | Field of view |
|---|---|---|---|
| Rear-view mirror | Single-seat carts, rear visibility | Overhead bar or windshield frame | Centered rear |
| Side mirrors | Multi-passenger carts, lane changes | Door post or frame clamp | Left and right flanks |
| Panoramic mirror | Full rear coverage in one unit | Overhead bar | Wide angle, single unit |
| Universal mirrors | Budget-friendly, flexible fit | Adjustable clamp | Varies by angle |
Universal mirrors work across many models and are the most popular choice for DIY installs. Model-specific mirrors from brands like Club Car, Yamaha, or EZGO snap in cleaner and look factory-fitted, but they cost more. Check your cart’s make and model, then browse the golf cart accessories checklist to make sure mirrors fit your overall upgrade plan.
Pro Tip: Before you drill a single hole, hold each mirror in its intended position and check the reflected view from your normal seated position. What looks right while standing beside the cart often looks completely wrong once you’re seated and driving.

With all the tools and the right mirrors ready, you’re set for the installation steps.
Most owners can install golf cart mirrors with basic tools in less than an hour. The key is patience during alignment and not rushing to drill before you’ve confirmed the position is exactly right.
Safety first: Park the cart on a flat surface, engage the parking brake, and disconnect the battery before drilling or using power tools near the frame.
Here are the full installation steps:
| Step | Primary tool | Estimated time |
|---|---|---|
| Surface cleaning | Clean rag | 2 minutes |
| Marking and measuring | Tape measure, marker | 5 minutes |
| Drilling pilot holes | Power drill | 5 minutes |
| Bracket attachment | Screwdriver, wrench | 10 minutes |
| Mirror mounting and adjustment | Hands, screwdriver | 5 minutes |
Pro Tip: Mark pilot holes on both sides simultaneously before drilling either one. This ensures symmetry and saves you from drilling one side correctly and the other slightly off.
If you enjoy customizing your golf cart, mirrors are just the beginning of what’s possible with a few tools and some planning.
After the mirrors are installed, it’s important to address common troubleshooting questions.
Correctly adjusted mirrors eliminate most blind spots when driving a golf cart. But even a well-executed install can develop issues if you skip the fine-tuning stage.
Here are the most common problems owners run into after installation:
For each driver who uses the cart, re-adjust the mirror before driving. Side mirrors especially need to shift depending on seat position and height. A six-foot driver and a shorter passenger see very different angles from the same mirror setting.
Pro Tip: Apply a small amount of thread locker to mounting screws after your final adjustment. It keeps everything in place through vibration and bumps without making the screws impossible to remove later.
Take time to recheck adjustment after your first drive. What looks perfect in a stationary cart can shift once you hit real terrain. Visibility is safety, so those extra 30 seconds of rechecking are always worth it.
For owners who enjoy ongoing upgrades, checking your mirrors as part of a regular inspection routine keeps them performing at their best. You can pair this habit with other small checks covered in popular golf cart modifications guides that help you stay on top of your cart’s overall condition.
With your mirrors properly installed and adjusted, let’s discuss how you can make this addition truly work for your everyday driving experience.
Here is something most installation guides skip entirely: the biggest reason mirrors fail isn’t the product, it’s the pace of the install. Owners rush through the mounting step, skip the seated position test, and never revisit the angle after the first real drive. Then two weeks later, they complain that the mirror doesn’t help much. It helps plenty. It’s just pointed at the sky.
The other hidden issue is product quality. A cheap mirror might cost half as much, but when the ball joint loosens after a few rides and the mirror droops to face the ground, you’ve wasted your money and reduced your safety. Quality mirrors, the kind engineered for golf cart use, hold their angle, handle vibration, and last for years. The investment is small compared to what a collision could cost.
Incremental adjustments after install are genuinely valuable. After your first real drive, check both mirrors. After your first week of use, check them again. Frequent inspections, especially after rough terrain, keep everything reliable. Read more about mirror benefits and installation to stay sharp on best practices over time.
You’ve done the hard work of installing and tuning your mirrors. Now it’s time to make sure you have the best hardware backing up that effort.

At Golf Cart Stuff, we carry a full selection of golf cart mirrors built for real-world use, including rear-view, side, panoramic, and universal styles for Club Car, Yamaha, EZGO, and more. Whether you need a direct replacement or want to upgrade your entire visibility setup, we have the parts you need. Browse our golf cart accessories collection to find everything from mirrors and lighting to seating and storage solutions that make every ride safer and more comfortable.
Not all golf cart mirrors fit every model, so always confirm compatibility with your cart’s make and model before purchasing.
Mirrors should be firm and stable, but not cranked down hard. Use hand tools and avoid overtightening to prevent stripped screws or cracked brackets.
Some mirrors feature clamp-on mounting options that require no drilling at all, making them a great choice for owners who want a reversible install.
Sit in your normal driving position first, then angle the mirrors until you see the maximum rear and side coverage. Properly adjusted mirrors maximize rear and side visibility with minimal blind spots.
Check that all mounting hardware is snug, then apply thread locker to reduce vibration-induced looseness and keep the mirror firmly in position over time.
Explore our store to see what our products and resources can do for you.

Leave a comment