


Your Cart Is Our Priority
Explore our store to see what our products and resources can do for you.

Most golf cart owners load up on LED lights, USB chargers, Bluetooth speakers, cooling fans, and accent lighting when customizing their cart. All of that runs on 12 volts, so the one rule that matters more than any other is this: never wire a 12V accessory straight to a 36V or 48V battery pack. Use a properly rated converter and fused distribution instead, and if your cart runs lithium, double check that converter’s input range before you touch a single wire.
TL;DR:
- Always use a properly rated converter with a fuse and avoid wiring 12V accessories directly to 36V or 48V batteries to prevent damage.
- Most owners install LED headlights and taillights first, followed by accents, USB ports, and stereo components, based on their usage and current draw.
- Check that your converter’s input voltage range covers your full pack voltage, especially after lithium upgrades, to avoid overheating or shutdown.
- Size wiring and fuses according to each accessory’s current draw and run length, with high-current devices like winches kept on dedicated circuits.
- Confirm the vehicle already produces 12V before installation and use a multimeter to verify stable output, correct polarity, and appropriate voltage.
Lighting usually comes first. LED headlights and taillights are the entry point for most owners, partly because they’re cheap and partly because they make the cart usable after dark. Underglow and accent lighting follow close behind, mostly for looks rather than function.
From there, the list expands based on how the cart gets used:
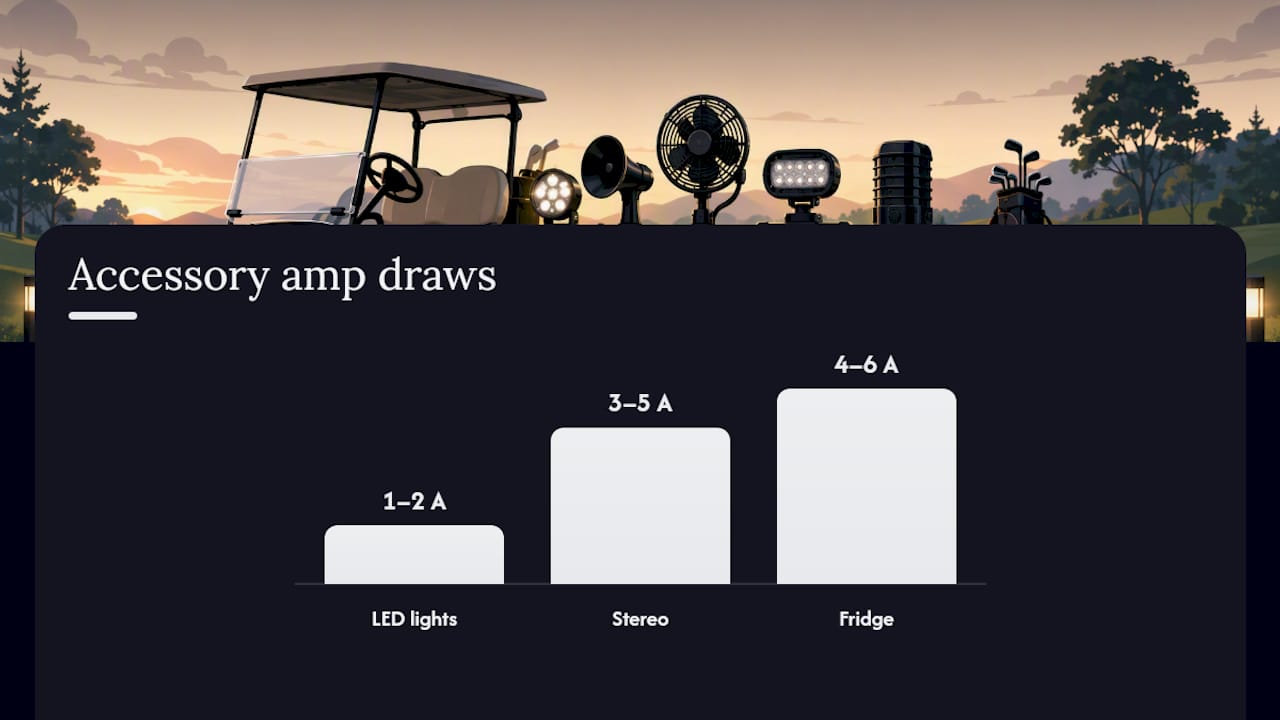
The dividing line is current draw, not accessory type. USB ports and LED accents can usually share a small converter without issue. Winches, amplifiers, and anything with a motor need their own wiring plan, because a shared circuit sized for lights will overheat or trip under that kind of load.
Some carts already produce 12V through a factory DC-DC converter or a dedicated accessory circuit tapped off the battery pack. Older or lower-trim models often don’t, which means anyone adding accessories has to install one.
A converter is a small box that steps 36V or 48V down to a stable 12V output, and not all of them are built the same. Before buying one, check:
Connecting a 12V module directly to a 36V or 48V pack destroys it almost immediately. Tapping a single battery inside the pack to get 12V is just as risky. It causes uneven discharge across the pack, which shortens battery life and creates performance problems that are hard to diagnose later.
Pro Tip: Before buying a converter, check your battery pack’s fully charged voltage, not just its nominal rating. A 48V lithium pack can rest well above 48V at full charge, and an old converter built for lead-acid input range may not tolerate that.
Sizing a 12V system starts with adding up what you’re actually going to power, then padding that number.
Undersized cable doesn’t just risk a fire. It causes voltage drop that shows up as dim headlights or a stereo that cuts out under load, a problem plenty of owners chase for weeks before finding a wiring issue as the cause.
Before final assembly, use a multimeter to confirm output voltage, correct polarity, and stable no-load readings from the converter. Reading a battery voltage chart correctly also helps you catch a weak or mismatched pack before it gets blamed on new wiring.
Before you cut a single wire, confirm three things: whether the cart already has a converter, the open-circuit voltage of the battery pack, and a full list of the accessories you’re planning to add along with their draw.
You’ll want a multimeter, a wire stripper and crimper, heat shrink tubing, waterproof connectors, a fused distribution block, correctly gauged cable, and zip ties on hand before you start. A step-by-step wiring guide is worth reading in full if this is your first electrical project on the cart.
Pro Tip: If you’re unsure about factory wiring, running high-current accessories like a winch, or working with a lithium pack you didn’t install yourself, get a professional to check the system before you add load to it. A few dollars spent on a diagnosis beats replacing a converter or a battery.
LiFePO4 packs charge to a higher resting voltage than lead-acid packs of the same nominal rating, and that’s exactly where old converters run into trouble. A converter built for a 48V lead-acid system may not tolerate the higher input from a fully charged lithium pack, and it can overheat or shut down entirely under that voltage.
The mistakes that cause the most callbacks are predictable:
Before wiring anything after an upgrade, read the converter’s label for its input voltage range and continuous current rating, inspect the factory harness and existing fuses for wear, and plan a separate run for anything that draws heavily.
Most 12V accessory failures we hear about don’t come from bad parts. They come from skipped steps, a converter that was never rated for the pack it’s connected to, or a fuse that got left out to save ten minutes. That pattern holds whether someone’s adding a $20 USB charger or a full audio system.
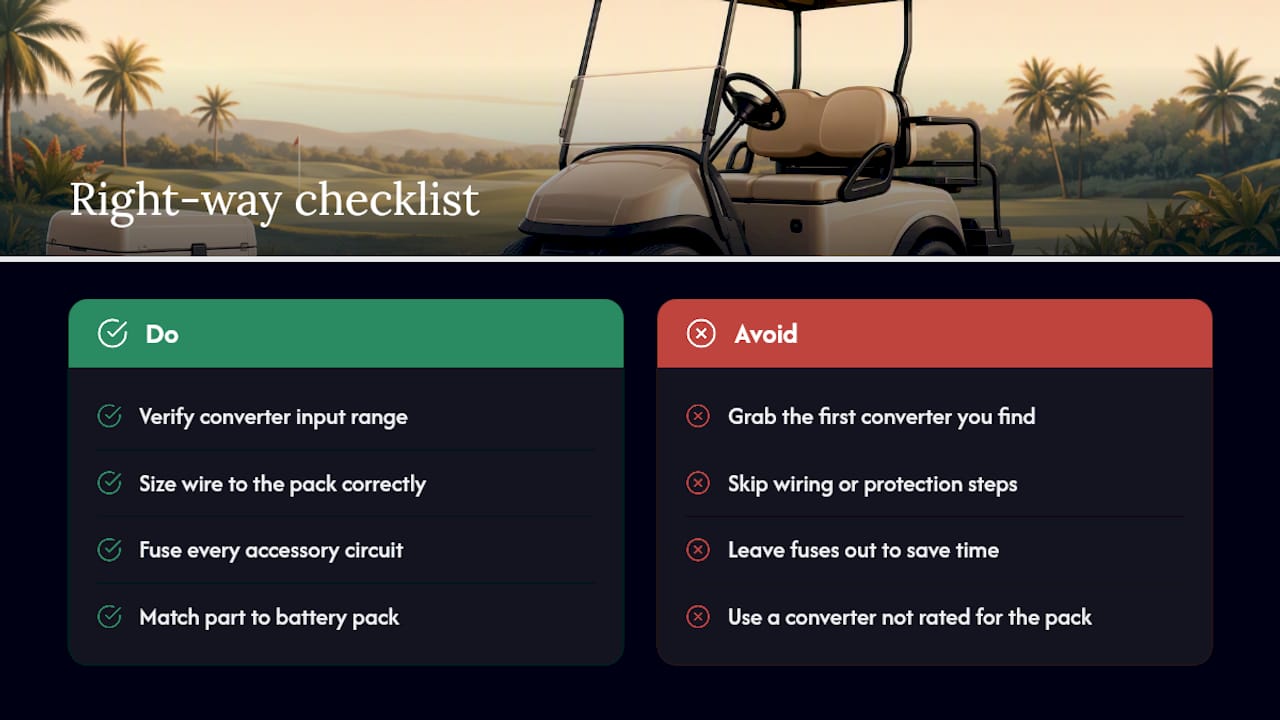
Golfcartstuff has built its catalog around Club Car, EZGO, and Yamaha carts specifically because compatibility questions like these come up constantly. The instinct to grab whatever converter shows up first in a search is understandable, but it’s the fastest way to end up with a shut-down converter three weeks after a lithium upgrade. Matching the part to the pack isn’t optional, it’s the whole job.
Owners who take the time to check input range, size their wire correctly, and fuse every circuit rarely come back with the same complaint twice. The ones who skip that step usually do.
— Roshan
Golfcartstuff carries the converters, fuse blocks, lighting kits, and USB chargers that make this kind of install straightforward instead of a guessing game. When you’re shopping, search by converter input range and continuous amperage first, not just price, since that’s what actually determines whether a part survives your pack.

If your cart runs on lithium or you’re not sure what your factory circuit can handle, our voltage reducer collection lists input ranges and output amperage clearly so you can match a converter to your pack before you buy. Browse the full golf cart accessories collection for lights, chargers, and speakers, or check the Club Car DS parts and Yamaha G1-G22 parts collections if you need model-specific mounts and harnesses. Reach out to our support team if you’re unsure which converter fits your setup. We’ll help you get it right the first time.
For technical detail beyond this guide, VTCBATT’s installation walkthrough covers converter compatibility in depth, and the 20A/240W converter listing shows real-world spec examples. Golfcartstuff’s own wiring basics guide is a solid next stop before you buy parts.
Explore our store to see what our products and resources can do for you.

Leave a comment