


Your Cart Is Our Priority
Explore our store to see what our products and resources can do for you.

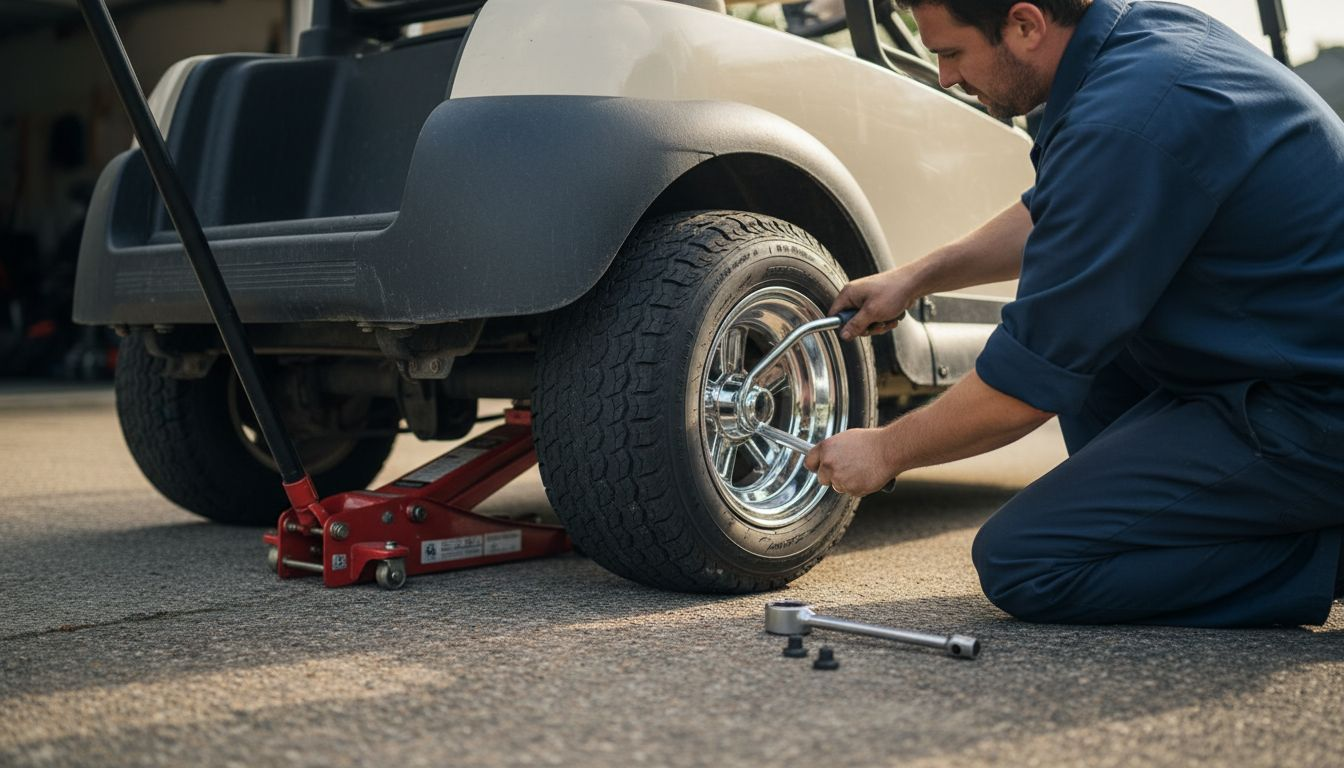
Every Golf Cart owner knows how a poorly mounted tire can ruin a smooth ride across the fairways of an American course. Proper tire installation is crucial not just for comfort, but also for safety and long-term vehicle health. With the right tools, materials, and careful steps, you prevent rim damage and keep your cart performing its best. This guide covers every detail, making tire installation clear and stress-free for Golf Cart enthusiasts aiming to maintain and improve their vehicles.
| Key Point | Explanation |
|---|---|
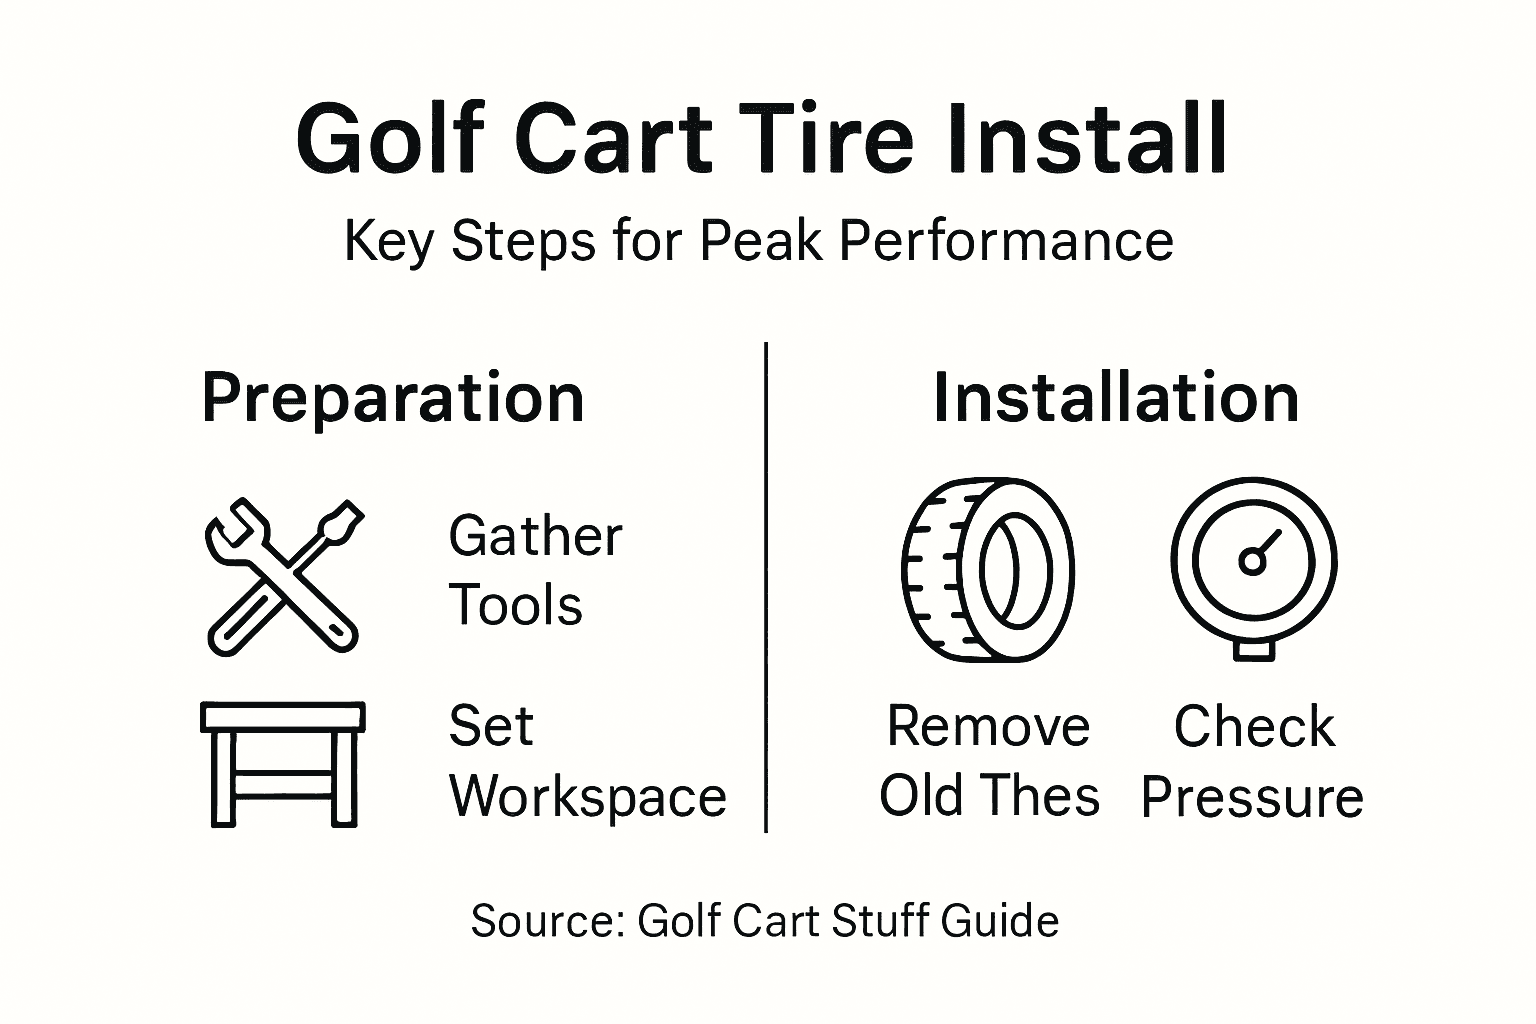
| 1. Gather essential tools first | Assemble tire irons, bead breaker, and pressure gauge to ensure smooth tire installation and prevent damage. |
| 2. Remove old tires safely | Secure the cart on level ground, use a jack with safety stands, and follow proper removal steps to avoid damage. |
| 3. Install new tires correctly | Align the tire with the rim, use lubricant, and inflate while checking bead seating to prevent uneven wear and vibrations. |
| 4. Securely attach lug nuts | Hand-tighten all lug nuts initially, then use a torque wrench in a star pattern to ensure even tightening and prevent accidents. |
| 5. Verify installation and performance | Conduct visual checks and a test drive to confirm proper seating, pressure, and overall cart handling to ensure safety. |
Before you touch your golf cart’s tires, you need the right equipment on hand. Grabbing the correct tools and materials upfront saves you frustration, prevents damage to your wheels, and ensures the job goes smoothly from start to finish.
Start by assembling your essential tools. You’ll need tire irons (also called tire levers) to break the bead and pry the tire away from the rim. A bead breaker is invaluable here—it separates the tire from the wheel without damaging either one. A quality tire pressure gauge lets you verify inflation levels and confirm your tires are at the manufacturer’s recommended PSI. A jack raises your golf cart safely off the ground, and an air compressor inflates your new tires to the correct pressure.
Here’s what your tool kit should include:
Your materials matter just as much as your tools. Tire repair basics emphasize getting the right replacement tires that match your golf cart’s wheel specifications. Don’t guess on tire size or tread pattern—check your cart’s manual or existing tires for the exact specifications. You’ll also need new valve stems if you’re replacing older tires, rim tape to seal the bead, and possibly soapy water to help seat the tire bead during installation.
Mismatched tires or incorrect sizes throw off your cart’s handling and can damage the drivetrain over time.
Set up your workspace before starting. Pick a level, dry area with plenty of room to move around the cart. Keep your tools organized and within arm’s reach so you’re not hunting for a wrench mid-installation. Having everything ready eliminates stops and starts that waste your time.
Pro tip: Lay out all your tools in order before you begin, and double-check that your jack’s weight rating exceeds your golf cart’s total mass by at least 50%—this keeps you safe and prevents equipment failure.
Removing your old tires is the critical foundation for successful installation. Do this wrong and you risk damaging your rims, injuring yourself, or creating a safety hazard that makes the whole job harder.
Start by securing your golf cart on level ground and engaging the parking brake. Position your jack under the frame rail closest to the first wheel you’re removing, then raise the cart slowly until the tire clears the ground by several inches. Never work under a cart supported only by a jack—always use jack stands or wheel chocks as backup safety measures.
Once the cart is elevated safely, here’s your removal sequence:
When demounting tires from rims safely, avoid forcing or prying aggressively, which can damage the rim. If a tire resists, use your bead breaker tool to separate the tire from the rim gradually rather than yanking on it. Take your time here—patience prevents costly rim damage and keeps you safe.
Rushing this step leads to stripped bolts, bent rims, and frustration that cascades through the rest of your installation.
Inspect your wheel hubs and brake components while the tire is off. Look for debris, rust, or damage that needs attention. Clean the hub lightly with a wire brush if needed. This inspection catches problems before reassembly and ensures your new tires perform optimally.
Pro tip: Place a shallow cardboard box under the hub to catch any debris or small parts that might fall, and keep your phone’s camera handy to photograph the hub orientation before removal so reinstallation goes smoothly.
Installing your new tires correctly determines whether your golf cart runs smoothly or develops vibration and handling issues down the road. This step requires patience and attention to detail, but the process becomes straightforward once you understand the sequence.
Begin by positioning your new tire on the wheel rim. Align the tire valve stem with the rim hole, then work the tire bead onto the rim gradually, starting at the valve stem and moving around the circumference. Push downward firmly but avoid forcing it abruptly, which can pinch the inner rim or damage the tire bead.
Your installation follows this sequence:
Proper tire installation procedures require verifying that the tire fits correctly and inflates to the specified pressure for your golf cart model. Watch the tire bead carefully as you inflate—it should seat against the rim with a distinct “pop” sound. Stop inflating if the bead isn’t seating properly and restart the process.
Uneven bead seating creates vibration, uneven wear, and reduces tire lifespan by months or years.
Once inflation is complete, check the tire pressure with your gauge and compare it to the manufacturer’s specification. Slight adjustments may be needed, but never overinflate. Reinstall the valve stem cap and move to the next wheel, repeating the entire process for consistency across all four tires.
Pro tip: Inflate each new tire to about 50% of the recommended pressure first to ensure the bead seats uniformly, then finish inflating to full pressure for optimal seal and performance.
Securing your new tires to the cart is where precision matters most. Loose lug nuts cause vibration, uneven tire wear, and potential wheel detachment, which creates serious safety hazards while you’re driving.
Start by reinstalling the lug nuts or bolts by hand, threading them onto the wheel studs until they’re snug but not fully tightened. This prevents cross-threading and damage to the fasteners. Once all lug nuts are hand-tight around the wheel, you’re ready to apply proper torque.
Follow this attachment sequence:
Using a torque wrench for consistent fastening prevents over-tightening, which can strip bolts, or under-tightening, which allows wheels to loosen during operation. Most golf cart manufacturers specify torque values between 80 and 120 foot-pounds, but always verify your specific cart’s manual for accuracy.
Skipping the torque wrench and tightening by feel inevitably leads to uneven pressure that degrades performance immediately.
The star pattern matters because it distributes clamping force evenly across the rim. Tighten nuts in this sequence: top, bottom-right, bottom-left, then repeat. This prevents the rim from warping or seating unevenly on the hub.
After reinstalling all four wheels, take your cart for a brief 15-minute test drive at normal speeds. Then stop and recheck every lug nut with your torque wrench. Thermal expansion and settling often require a final adjustment.
Pro tip: Mark your torque wrench handle with a permanent marker at the exact measurement you need, so you can quickly verify proper settings without checking your manual every time you work on the tires.
You’ve installed your new tires, but the work isn’t complete until you verify everything works correctly. This final step catches problems before they become safety issues or damage your golf cart.
Start with a visual inspection of all four wheels. Walk around your cart and examine each tire for proper seating on the rim, checking that the bead sits evenly without gaps or bulges. Look for any debris lodged between the tire and rim, and verify that all valve stem caps are secure.
Your verification checklist includes:
Next, perform a controlled test drive. Start slowly on flat, open terrain and accelerate gradually to normal speed. Listen for unusual noise and feel for vibration in the steering wheel or seat. Any pulsing, grinding, or rhythmic shaking indicates improper installation that needs correction.
Proper tire pressure verification ensures your cart handles correctly and maximizes tire lifespan. Use your pressure gauge to confirm each tire matches the manufacturer’s specification exactly. Temperature affects pressure, so check tires when they’re cool before your first drive.
A 5-minute test drive reveals 90% of installation problems before they escalate into real hazards.
After your test drive, park the cart and recheck lug nut tightness with your torque wrench. Then inspect the tires again for any movement or settling. Pay particular attention to where the tire bead meets the rim.
Your cart should feel responsive, stable during turns, and free of vibration at all speeds. If you notice anything unusual, stop immediately and investigate the problem rather than continuing to drive.
Here’s a quick reference for common mistakes and their prevention during golf cart tire installation:
| Mistake | Resulting Issue | Prevention Tip |
|---|---|---|
| Using mismatched tire sizes | Poor handling, drivetrain wear | Verify tire specs before starting |
| Over-tightening lug nuts | Bolt damage, warped rims | Always use a torque wrench |
| Incomplete bead seating | Vibration, premature tire wear | Inflate in stages, check bead seal |
| Skipping safety checks | Risk of accidents or injuries | Inspect and test drive thoroughly |
Pro tip: Document your tire pressure baseline by writing the PSI on each wheel with tire chalk, allowing you to quickly spot pressure loss due to leaks or temperature changes during future maintenance checks.
The table below summarizes the business impact of following proper golf cart tire maintenance procedures:
| Action | Cost Impact | Safety Benefit | Performance Benefit |
|---|---|---|---|
| Using correct tire size | Reduces repairs | Maintains stability | Smooth, predictable handling |
| Rechecking torque after drive | Avoids damages | Prevents wheel loss | Reduces vibration risk |
| Verifying tire pressure | Extends tire life | Improves control | Maximizes ride comfort |
Installing golf cart tires correctly takes patience and precision. The guide highlights common challenges like mismatched tire sizes, improper bead seating, and uneven lug nut torque that can hurt your cart’s performance and safety. Avoid the frustration and risk of damage by choosing quality replacement tires and reliable tools that fit your golf cart exactly.

Explore our extensive selection of golf cart parts and accessories at Golf Cart Stuff. Find everything from tires matched to your cart’s specifications to tire irons and air compressors needed for smooth installation. Don’t compromise on safety or performance. Act now to upgrade your golf cart with trusted products designed to last and enhance your driving experience. Visit Golf Cart Stuff and take control of your golf cart maintenance today.
You will need essential tools such as tire irons, a bead breaker, a tire pressure gauge, a jack, an air compressor, and a lug wrench. Assemble your tools before starting to avoid frustration and ensure a smooth installation process.
Begin by securing your golf cart on level ground and engaging the parking brake. Use a jack to lift the cart, loosen the lug nuts, and then remove them completely to take off the old tires without causing damage to the rims.
Position the new tire on the rim, aligning the valve stem with its hole, and gradually seat the tire bead. Inflate the tire to the manufacturer’s recommended PSI while ensuring the bead sits evenly against the rim to avoid vibration issues.
Reinstall the lug nuts by hand and tighten them using a torque wrench in a star pattern for even pressure. Make sure to check the torque after a brief test drive to ensure the lug nuts are securely fastened.
Perform a visual inspection of each tire to ensure proper seating and verify that the tire pressure matches the manufacturer’s recommended PSI. Take a test drive and check for any unusual vibrations or sounds to ensure everything is functioning correctly.
Proper tire pressure enhances stability, improves handling, and extends tire lifespan. Check the pressure regularly, especially after changes in temperature, to maintain optimal performance.
Explore our store to see what our products and resources can do for you.

Leave a comment