


Your Cart Is Our Priority
Explore our store to see what our products and resources can do for you.

Replacing a cracked or cloudy golf cart windshield can feel intimidating, especially when every cart model has its own size and mounting style. For many American and Canadian cart owners, choosing the right replacement and getting a proper fit means more than just picking out any piece of plastic. With so many materials and hardware options on the market, the process requires attention to detail and the right approach. This guide shares clear instructions and highlights the most important steps for a hassle-free installation and long-term durability.
| Key Insight | Explanation |
|---|---|
| 1. Measure Windshield Precisely | Ensure you know your golf cart’s windshield dimensions to choose the correct replacement. |
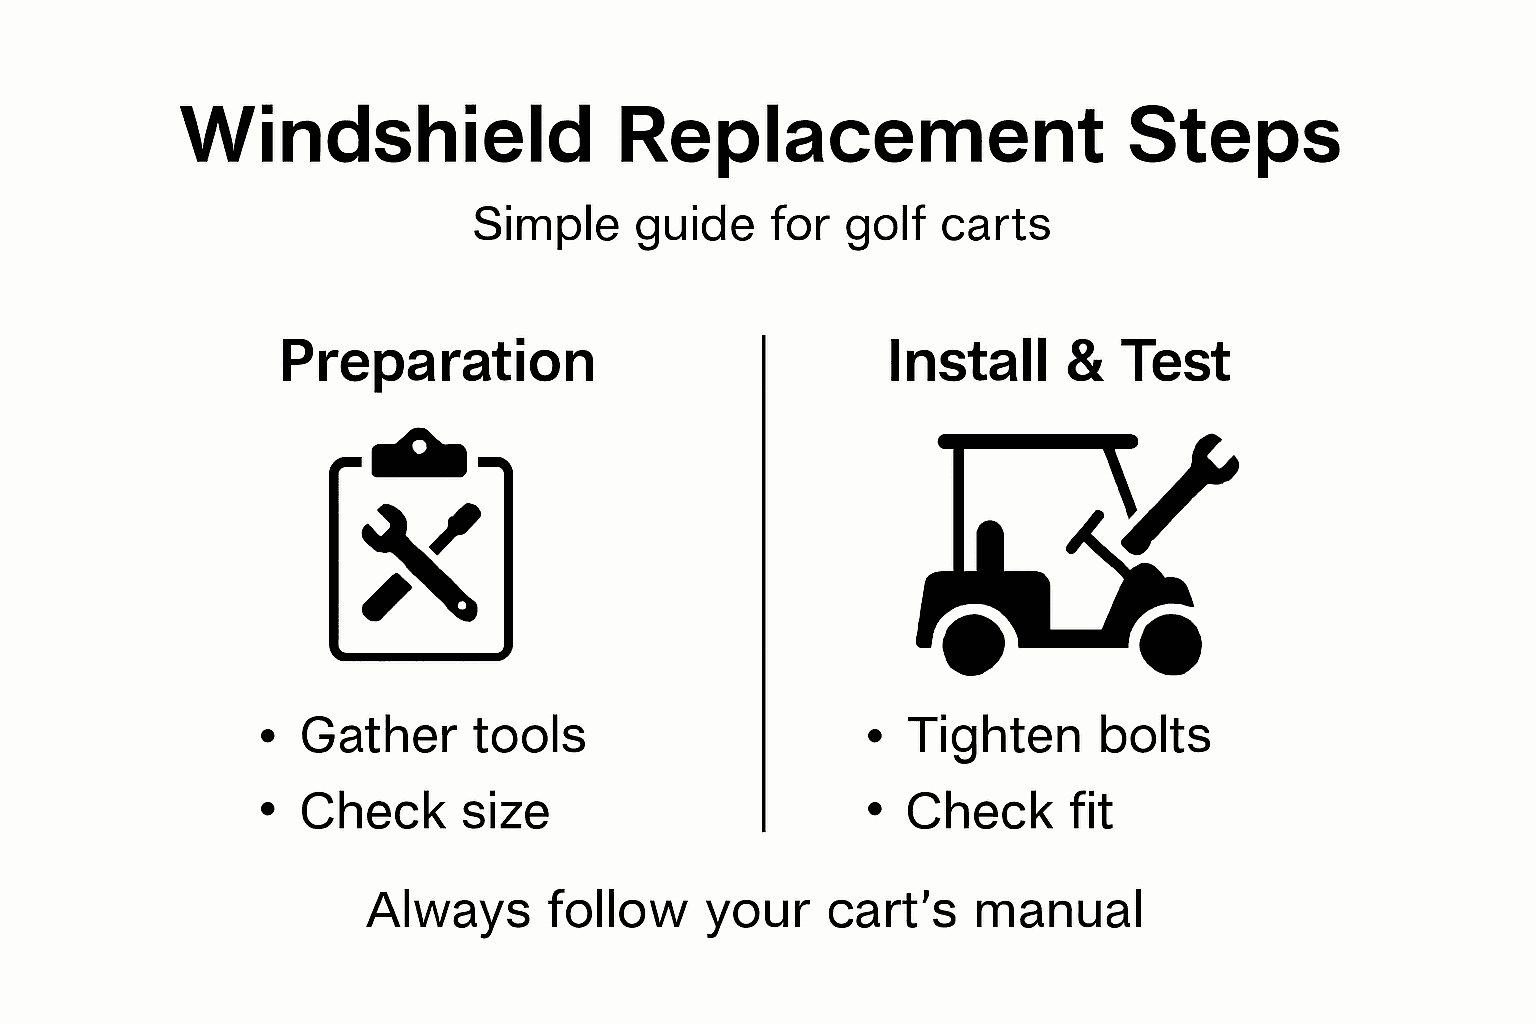
| 2. Gather Necessary Tools | Collect essential tools like screwdrivers, gloves, and measuring tape before starting the replacement. |
| 3. Inspect for Proper Fit | After installing, ensure there are no gaps or misalignments; a secure fit prevents future issues. |
| 4. Use Quality Sealant | Apply silicone sealant around the edges for a watertight seal; let it cure before using the cart. |
| 5. Conduct Final Stability Test | Check the windshield stability and alignment by gently testing it to confirm that it is secure and stable. |
Replacing a golf cart windshield requires careful preparation and the right equipment. You’ll want to collect all necessary materials beforehand to ensure a smooth installation process that prevents potential damage or frustration.
First, you’ll need to determine your golf cart’s specific windshield dimensions. Measurement is critical - not all windshields are universal. Check your cart’s make, model, and year to find an exact match. Common windshield materials include acrylic, polycarbonate, and tempered glass, each with unique properties.
Here’s how windshield materials differ for golf carts:
| Material | Durability | Clarity | Cost Range |
|---|---|---|---|
| Acrylic | Moderate | High | Low to Medium |
| Polycarbonate | Very High | High | Medium |
| Tempered Glass | High | Excellent | High |
Here are the essential tools and materials you’ll want to gather:
Pro tip: Take clear photos of your current windshield mounting points before removal to serve as a reference during reinstallation.
Additionally, verify your windshield’s compatibility by checking specific mounting brackets that match your golf cart’s frame. Some aftermarket windshields require slight modifications, so having the right tools and understanding your cart’s specific requirements is crucial.
Pro tip: Always purchase your windshield from a reputable dealer who can confirm exact compatibility with your specific golf cart model.
Now that you have gathered your tools and materials, it’s time to carefully remove the existing windshield from your golf cart. This step requires patience and precision to avoid causing additional damage to your vehicle.
Start by carefully removing windshield mounting hardware using an appropriate screwdriver or socket wrench. Work systematically and keep track of each fastener as you remove them. Some key steps include:
Safety is paramount: wear work gloves and protective eyewear during removal to prevent potential injury.
Once all mounting hardware is removed, gently wiggle the windshield to separate it from the frame. If the windshield seems stuck, use a rubber mallet to tap gently and break any sealed connections. Avoid using excessive force that might crack the frame or damage surrounding components.
Pro tip: Take photos of the original mounting configuration before disassembly to ensure perfect reinstallation of your new windshield.
With your old windshield removed and new windshield ready, you’re now prepared for the critical installation phase that requires precision and careful attention to detail. Proper installation ensures a secure, watertight fit that will protect you during your golf cart adventures.
Carefully align the new windshield with the cart’s frame, ensuring all mounting holes match precisely. This step demands patience and a steady hand. Your key installation steps include:
Precision matters: Improper alignment can cause stress points that might lead to cracking or leaks.
Once positioned, begin securing the windshield using the original hardware or new fasteners. Tighten screws incrementally and evenly, alternating between opposite sides to maintain balanced pressure. Be mindful not to overtighten, which could cause stress fractures in the windshield or frame.
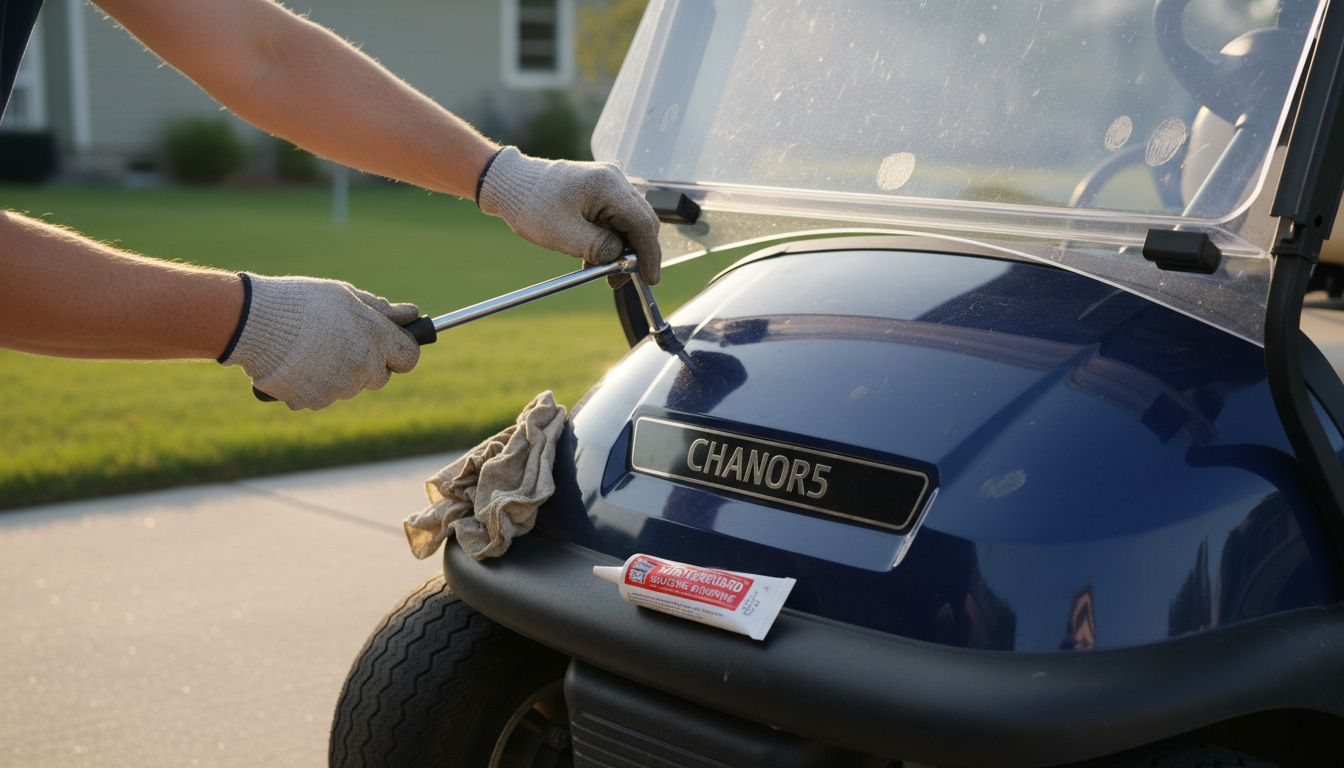
Apply a thin bead of silicone sealant around the windshield’s edges to create a watertight seal and prevent moisture intrusion. Allow the sealant to cure completely before driving your golf cart.
Pro tip: Keep a tube of clear silicone sealant in your toolkit for quick windshield maintenance and potential emergency repairs.
With your windshield installed, the final crucial step is ensuring a perfect, secure fit that will protect you during your golf cart adventures. Proper inspection and hardware tightening can mean the difference between a professional installation and a potential future failure.
Verify windshield alignment and hardware tension systematically to guarantee a reliable setup. Your comprehensive inspection should focus on these critical elements:
Precision is key: Loose mounting hardware can lead to dangerous windshield failure during operation.
Tighten mounting bolts methodically, using a torque wrench if possible. Work in a cross pattern, applying consistent pressure to each fastener. This technique prevents uneven stress that could compromise the windshield’s structural integrity.
Perform a final stability test by applying gentle pressure from different angles. The windshield should feel solid and immovable, with no unexpected flex or movement. Any wobbling indicates you need to revisit and re-tighten your mounting hardware.
Pro tip: Keep a small torque wrench in your golf cart toolkit to periodically check and maintain windshield hardware tension.
Before hitting the golf course or neighborhood paths, a comprehensive final check ensures your new windshield installation meets safety and performance standards. This critical evaluation protects you and confirms your hard work has paid off.
Perform a systematic visual and physical inspection of your newly installed windshield. Key testing areas include:
Key steps and checkpoints for successful windshield installation:
| Installation Phase | Main Actions | What to Double-Check |
|---|---|---|
| Removal | Hardware removal, safe handling | All screws accounted for |
| Placement & Alignment | Match to frame, hole alignment | No stress or bending |
| Securing & Sealing | Gradual screw tightening | Even pressure, correct torque |
| Final Inspection | Fit, stability, visibility | No gaps, secure fit, clear views |
Safety first: A thorough inspection prevents potential accidents and equipment failures.
Walk around your golf cart and examine the windshield from multiple perspectives. Look for any unusual gaps, misalignments, or potential stress points. Gently attempt to wiggle the windshield - it should feel completely solid and immovable.
Simulate real-world conditions by taking a short, slow test drive in a controlled environment. Pay attention to wind noise, potential vibrations, and any unexpected movements that might indicate improper installation.
Pro tip: Always keep a small adjustment kit with extra mounting hardware and silicone sealant in your golf cart for quick fixes during initial testing.
Replacing your golf cart windshield can feel overwhelming with all the precise steps and careful measurements involved. From ensuring compatibility and gathering the right tools to safely removing the old windshield and securing the new one without risking cracks or leaks these challenges are common obstacles every golf cart owner faces. You want a perfect fit, clear visibility, and lasting durability that enhances your ride without constant worry.

Discover high quality windshield options and expert accessories at GolfCartStuff that simplify every step of your replacement journey. Whether you need durable mounting hardware or replacement rubber gaskets we provide trusted parts designed for a secure and reliable fit. Don’t wait until a shaky windshield or unclear views slow you down. Visit GolfCartStuff now and equip your golf cart for safety and comfort with genuine parts you can count on. Your next golf cart adventure deserves smooth rides starting with the right windshield installation.
To measure your golf cart for a new windshield, start by determining the exact dimensions needed for your specific make, model, and year. Use a measuring tape to accurately assess the height and width of your current windshield, ensuring to note any unique shapes or features.
You’ll need several tools for replacing a golf cart windshield, including a measuring tape, screwdrivers, a socket wrench, work gloves, and safety glasses. Gather these tools before starting the replacement to ensure a smooth and efficient installation process.
To safely remove the old windshield, first locate all the mounting hardware and unscrew them systematically. Use work gloves and protective eyewear, and gently wiggle the windshield to separate it from the frame, making sure to support its weight as you disconnect the final fasteners.
Key steps for installing a new golf cart windshield include carefully aligning it with the frame, inserting the mounting hardware loosely, and gradually tightening the screws in a cross pattern. Ensure that the windshield sits flush against the mounting surface and that you apply a thin bead of silicone sealant around the edges for a watertight seal.
To ensure your new windshield is securely fitted, check for even gaps around the edges and test its stability by applying gentle pressure. After tightening all hardware, perform a final inspection to confirm there are no visible misalignments, and conduct a short test drive to catch any potential issues before normal use.
Explore our store to see what our products and resources can do for you.

Leave a comment