


Your Cart Is Our Priority
Explore our store to see what our products and resources can do for you.

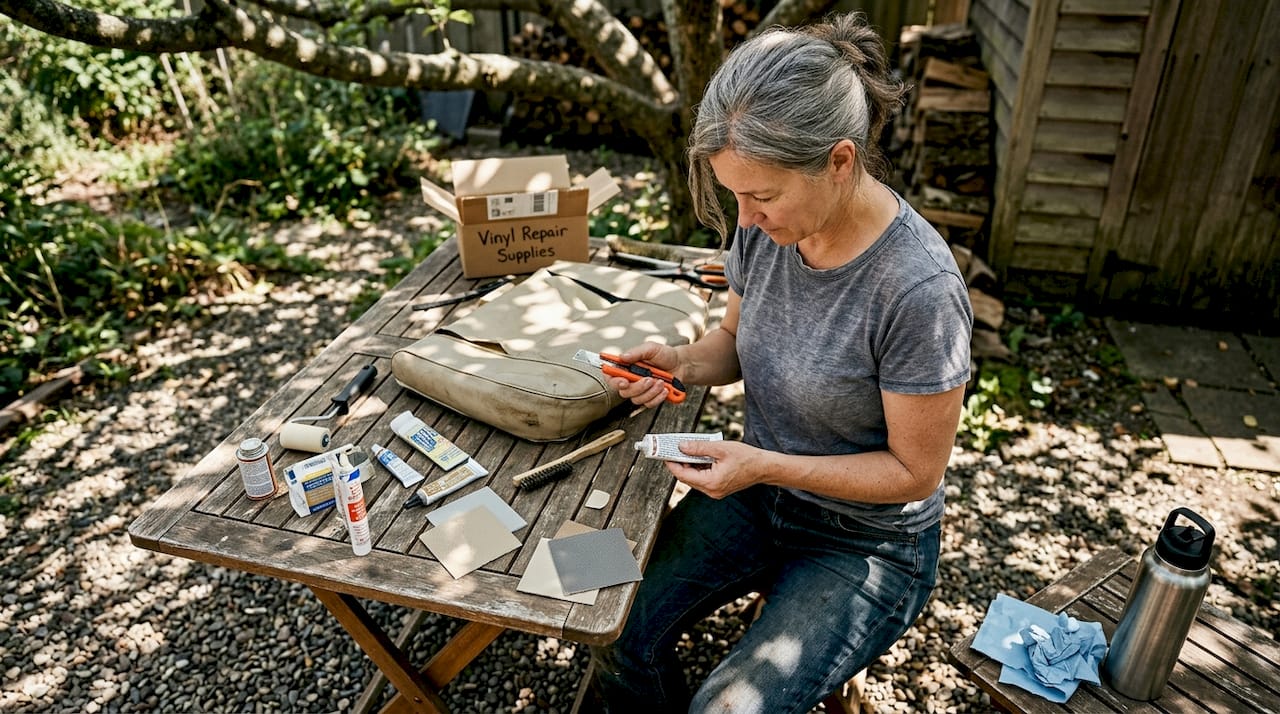
Cracked vinyl, sagging foam, and torn seams are more than an eyesore. They chip away at ride comfort and can quietly drop your cart’s resale value before you even notice. The good news is that most golf cart seat damage is fixable without sending the cart to a shop or spending a fortune. Whether you’re dealing with a small tear from a sharp edge or widespread cracking from years of sun exposure, this guide walks you through every stage: assessing the damage, gathering the right supplies, executing the repair, and keeping seats in top shape for the long haul.
| Point | Details |
|---|---|
| Diagnose before repair | Assess the seat’s material and structure to choose the right repair method for minor or major damage. |
| Right tools matter | Having the correct kits, adhesives, and coverings ensures repairs are durable and match your cart’s style. |
| Follow proven steps | Step-by-step workflows prevent mistakes, leading to clean, lasting results for patched or recovered seats. |
| Don’t overlook upgrades | Reupholstery or replacement often provides superior comfort and extends your cart’s seat life beyond patching. |
| Maintenance is key | Regular cleaning and covering keep repairs intact and prevent future seat damage. |
Once you realize the value of restoring your seats, the first step is knowing exactly what you’re dealing with. Not all seat damage is the same, and choosing the wrong repair method wastes both time and money.
Start by pressing on the seat foam. If it bounces back, the foam is still healthy. If it stays compressed or crumbles, foam replacement is part of the job. Next, run your hand along every seam, corner, and the underside of the seat. Hidden damage in these spots is easy to miss but will cause any surface repair to fail quickly.
Types of damage and what they mean:
| Repair type | When to use | Time needed | Estimated cost | Skill level |
|---|---|---|---|---|
| Patch/vinyl kit | Tears under 3 inches | 1 to 2 hours | $10 to $40 | Beginner |
| Full recover | Widespread wear or cracks | 3 to 6 hours | $50 to $150 | Intermediate |
| Seat replacement | Frame damage or brittle vinyl | 30 to 60 min | $80 to $300+ | Beginner |

A common mistake is treating brittle, cracking vinyl as patchable. When vinyl has lost its flexibility across the whole surface, patches won’t hold because the surrounding material keeps breaking down. That’s when a full recover or front seat replacement is the smarter call.
Pro Tip: Always check the seat corners and underside seams first. These spots take the most stress and often show damage before the main seating surface does.
With your damage type identified, the next step is gathering the right supplies. Running out of adhesive mid-repair or realizing you grabbed the wrong grain paper is a frustrating setback that’s easy to avoid.
Essential tools and materials by repair method:
Choosing the right adhesive matters more than most people expect. A flexible vinyl adhesive rated for automotive use stays pliable through heat and vibration. Rigid glues crack within weeks. When picking a vinyl cover or patch, bring a photo of your seat to match the grain pattern and color as closely as possible. A slight mismatch is obvious in sunlight.
| Repair method | Key tools | Estimated cost | Time required |
|---|---|---|---|
| Vinyl kit | Filler, heat tool, grain paper | $15 to $40 | 1 to 2 hours |
| Tear-Aid patch | Adhesive, backing, clamps | $10 to $30 | 1 hour |
| Adhesive + backing | Vinyl adhesive, fabric patch | $20 to $50 | 1 to 2 hours |
| Full recover | Cover, staple gun, pliers | $50 to $150 | 3 to 6 hours |
For a deeper look at material choices and style options, the interior materials guide covers everything from vinyl grades to foam densities worth knowing before you buy.
Pro Tip: Lay all your tools out on a clean, flat surface before you start. Searching for a tool mid-repair with adhesive on your hands is a mess you don’t want.
With tools at hand, let’s tackle the most common repair you’ll encounter. Small tears are the most frequent issue and the easiest to fix when you follow the right sequence.
Step-by-step repair process:
The most common reason vinyl repairs fail is skipping the cleaning step or applying heat too aggressively. Patience in the early steps pays off in durability.
Common pitfalls to avoid:
For a broader look at surface repair approaches, vinyl repair techniques from panel work translate well to seat repairs and are worth reviewing.
Pro Tip: If you’ve never used a vinyl repair kit before, practice the heat and grain paper step on a scrap piece of vinyl first. It takes one or two tries to get the pressure and timing right.
If the damage is beyond a simple fix, it’s time to consider more substantial solutions. Knowing when to stop patching and start fresh is one of the most valuable skills a cart owner can develop.
Signs you need to recover or replace:
As a rule, replace for widespread cracking, brittle vinyl, or deteriorated foam rather than layering more patches on top of a failing surface.
Patch jobs tend to fail within months when the underlying foam has deteriorated, because the surface flexes differently and pulls the patch apart from below.
Recover vs. replace: which is right for you?
Browsing seat covers is a smart starting point if the frame and foam are still solid. For a full overhaul or style upgrade, custom seat options show what’s possible beyond basic vinyl replacement.
A quality recover using durable marine-grade vinyl often outlasts three or four rounds of patching, making it the better long-term investment in most cases.
Once the repair or recover is complete, a few final steps will keep your seats looking and feeling great for years. Skipping the finishing phase is where a lot of DIY repairs fall short of a professional look.
Final checks before calling it done:
Finishing steps for a clean result:
Repair failures often trace back to using the wrong adhesive, applying too much heat, or using the seat before the repair has fully cured. If a repair lifts within a few days, clean the area again and reapply with the correct adhesive before the gap widens.
Pro Tip: Apply a UV protection spray every 60 to 90 days. Sun exposure is the single biggest cause of vinyl cracking on golf carts, and a $10 spray can adds months or years to seat life.
Habits that prevent future damage:
Most repair guides focus on the patch itself. What they skip is the bigger picture: why patches fail and how to avoid the cycle of repeated fixes that costs more over time.
The honest truth is that most patch job failures aren’t caused by a bad patch. They happen because the foam underneath has deteriorated and the seat surface flexes unevenly, pulling the repair apart from below. No patch can hold on a surface that keeps moving in unpredictable ways.
Recovering a seat sounds intimidating, but with a pre-sewn cover it’s genuinely a one-afternoon project for most standard seats. The interior upgrade insight shows just how accessible a full interior refresh can be, even without professional tools.
Before buying more patch materials, press on the foam and check the frame. If either is compromised, you’re not solving the problem, you’re just delaying it. Spending $60 on a quality recover now beats spending $15 on patches three times a year. The right solution at the right time is always the cheaper one in the long run.
Armed with workflow knowledge and insider perspective, your next seat project is all about having the right parts and accessories.

At GOLFCARTSTUFF.COM™, you’ll find everything you need to complete any seat repair or upgrade, from replacement seat covers and foam to full seat assemblies and UV-protective finishing products. The catalog covers all major brands, including Club Car parts and Yamaha parts, so you get a seamless fit without guesswork. Whether you’re patching a small tear or doing a full recover, browse the complete golf cart accessories selection to stock up on everything your seat project needs in one place.
Large tears often need a backing patch plus adhesive, or a full reupholster. Replacement is necessary for brittle vinyl or deteriorated foam that can no longer support a patch.
Use a flexible vinyl adhesive rated for automotive use. Wrong adhesive causes repair failure, since rigid glues crack under the flex and heat a golf cart seat experiences.
Wait at least 24 hours before sitting on a repaired seat. Premature use before curing is one of the top reasons patches and adhesive bonds fail early.
DIY repairs done correctly can hold for several months, but patch jobs fail faster than a full professional recover, which offers better long-term durability and a cleaner finish.
Explore our store to see what our products and resources can do for you.

Leave a comment