


Your Cart Is Our Priority
Explore our store to see what our products and resources can do for you.

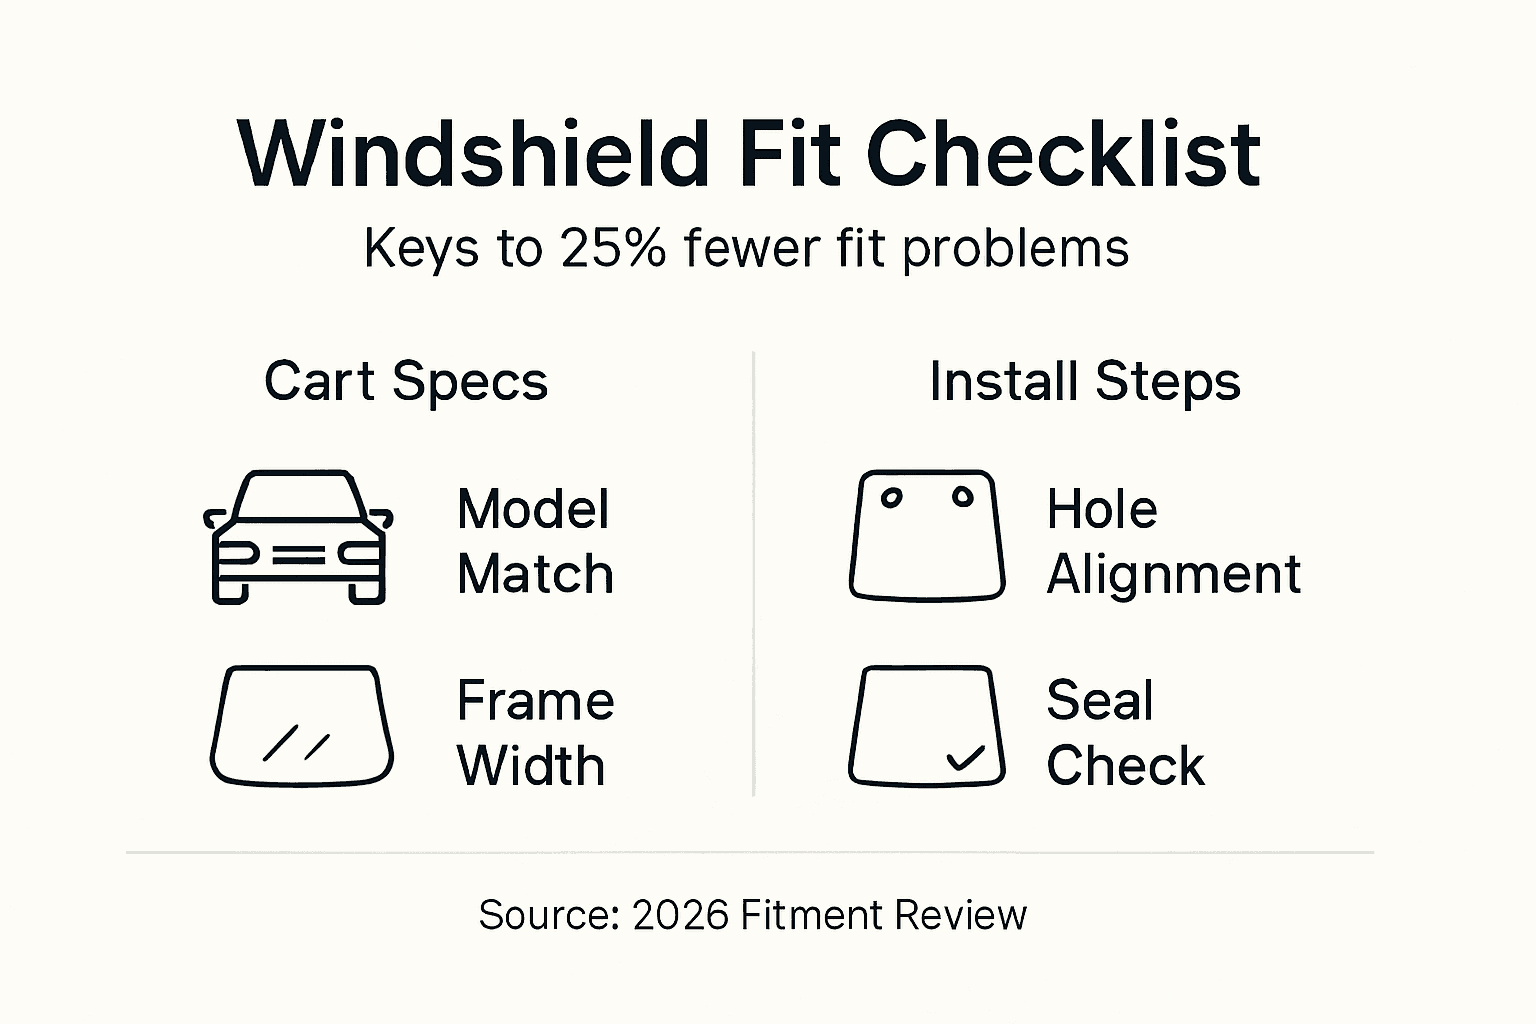
Installing a golf cart windshield yourself sounds simple until you discover leaks, cracks, or rattling after your first ride. Poor fitment causes 25% of DIY installation failures, but with the right approach you can avoid costly mistakes. This guide walks you through choosing materials, gathering tools, completing installation, and troubleshooting problems so your windshield performs perfectly for years.
| Point | Details |
|---|---|
| Accurate measurement | Precise dimensions by make and model prevent 25% of fit problems. |
| Proper sealing | Silicone sealant creates watertight, durable bonds when applied correctly. |
| Careful tightening | Secure screws firmly without overtightening to avoid stress cracks. |
| Time investment | Typical DIY install requires 30 to 60 minutes with basic tools. |
| Ongoing maintenance | Regular hardware checks extend windshield lifespan and prevent failures. |
Before touching a screwdriver, gather the right equipment and verify compatibility. Measuring precise windshield dimensions by make, model, and year is crucial to avoid fit issues, according to industry guidelines. Mismatched windshields cause most amateur installation disasters.
You’ll need these essential tools:
Safety equipment matters just as much. Wear work gloves to protect against sharp edges and safety glasses to shield your eyes from debris. Windshields are awkward to handle alone, so recruit a helper if possible.
Confirm your windshield matches your cart’s exact specifications. A Club Car windshield won’t fit an EZGO frame properly. Check manufacturer documentation or existing windshield labels for model numbers. Prepare a clean workspace with good lighting so you can spot alignment issues immediately.
Pro Tip: Lay the new windshield beside your cart’s frame before starting installation. This quick visual check catches sizing errors before you remove the old windshield and discover the replacement doesn’t fit.
Double check that all mounting holes align perfectly. Even a quarter inch difference creates stress points that lead to cracks. Take photos of your existing windshield installation before removal so you have a reference guide for proper positioning.
Choosing the right material affects installation difficulty and long term performance. Acrylic offers superior scratch resistance but less impact protection, while polycarbonate handles impacts better but scratches more easily. Your usage patterns should drive this decision.
| Material | Scratch Resistance | Impact Resistance | Cost | Best For |
|---|---|---|---|---|
| Acrylic | Excellent | Moderate | $$ | Casual street use, aesthetic priority |
| Impact Modified Acrylic | Very Good | Good | $$$ | Balanced performance, most versatile |
| Polycarbonate | Fair | Excellent | $$$$ | Off road, rugged terrain, high durability needs |
Fixed windshields mount permanently and provide maximum weather protection with simpler installation. Folding windshields offer ventilation flexibility but require more complex hardware and alignment precision. First time installers should consider fixed designs for fewer failure points.
Thickness matters too. Standard windshields run 0.177 to 0.236 inches thick. Thicker materials resist flexing and vibration but weigh more and cost extra. Match thickness to your cart’s frame strength and intended usage intensity.
Maintenance requirements vary by material. Acrylic tolerates standard cleaners and resists yellowing from UV exposure. Polycarbonate needs specialized cleaners to prevent clouding and requires more frequent replacement of protective coatings. Factor ongoing care into your material choice alongside upfront installation considerations.
Start by removing your existing windshield if present. Work slowly to avoid damaging mounting hardware you’ll reuse. Unscrew fasteners counterclockwise, supporting the windshield’s weight as you remove the final screws. Proper installation sequence prevents most amateur mistakes.
Clean the mounting frame thoroughly with degreaser and dry completely. Dirt or old sealant residue prevents proper adhesion and causes leaks later.
Apply penetrating oil to the mounting frame’s rubber seals or gaskets. This lubrication helps the windshield slide into position without binding or tearing gaskets.
Position the windshield against the frame with a helper supporting the opposite side. Align mounting holes carefully before inserting any hardware.
Start all screws by hand before tightening. Thread each screw two or three turns to ensure proper alignment across the entire frame.
Tighten screws in a star or cross pattern, alternating sides to distribute pressure evenly. Use moderate force, stopping when the windshield sits flush and firm without flexing.
Apply a continuous bead of silicone sealant around all edges where the windshield meets the frame. Smooth with a damp finger for professional looking results.
Allow sealant to cure for the manufacturer’s recommended time, typically 24 to 48 hours. Avoid using the cart during this curing period.
Perform final checks by gently pushing on the windshield at multiple points. It should feel solid with no movement or rattling sounds.
Pro Tip: Mark your starting screw with tape so you maintain the correct tightening sequence. This simple step prevents confusion and ensures even pressure distribution around the entire frame.
For additional guidance on DIY windshield replacement and proper cleaning techniques, consult manufacturer specific resources that address your cart model’s unique requirements.
Misalignment causes persistent leaks that seem impossible to fix. Poor surface preparation ruins seal adhesion, while overtightened screws create immediate cracks or delayed stress fractures. Recognizing these issues early saves time and money.
Avoid these frequent errors:
Rattling indicates loose hardware or missing rubber isolators. Check every mounting point and tighten gradually until sounds stop. If rattling persists, inspect for cracked mounting tabs or worn gaskets that need replacement.
Leaks around edges mean incomplete sealant coverage or contaminated surfaces during application. Remove old sealant completely, clean with isopropyl alcohol, and reapply fresh silicone. Press firmly to eliminate air pockets that channel water intrusion.
Cracks radiating from mounting holes signal overtightening. Replace the windshield immediately, as cracks propagate quickly under vibration and temperature changes. Install replacement hardware with proper torque specifications.
Wear safety equipment throughout troubleshooting. Flying debris from removing failed sealant or handling cracked windshields causes preventable injuries. Work methodically rather than rushing fixes that create additional problems.
A successful installation delivers immediate comfort and safety improvements. Most DIY installers complete the job in 30 to 60 minutes once materials are gathered and the workspace is prepared. Your first attempt may take longer as you verify each step.
Properly mounted windshields eliminate wind blast and reduce debris impacts. Riders experience less fatigue on longer trips and better visibility in rain or dusty conditions. Weather sealing keeps interiors dry and protects electronics from moisture damage.
Expect these performance benchmarks:
Perform routine maintenance checks every three months. Inspect mounting hardware for looseness and tighten as needed. Examine sealant for cracks or separation, reapplying fresh silicone to problem areas before leaks develop.
Your windshield should last three to five years with proper care. Material choice, storage conditions, and usage intensity affect lifespan. Covered storage extends durability by protecting against UV degradation and temperature extremes.
Document your installation with photos showing hardware placement and sealant application. These references help with future maintenance and prove valuable if you encounter warranty issues or need technical support from manufacturers.
Your new windshield is just the beginning of transforming your cart’s performance and comfort. Explore premium upgrades and accessories that complement your fresh installation, from lighting packages to custom seating. Apply expert modification strategies to maximize your investment.

Discover curated parts selection guides that match your specific cart model and usage requirements. Quality components installed correctly deliver years of reliable service and enhanced enjoyment on every ride.
You must have Phillips and flathead screwdrivers, a socket wrench set, measuring tape, and automotive silicone sealant. Work gloves and safety glasses protect against injuries from sharp edges and debris.
Allow 24 to 48 hours for complete curing before driving your cart. Using the vehicle too soon compromises seal integrity and causes leaks.
Yes, but folding designs require more precise alignment and additional hardware compared to fixed windshields. First time installers often find fixed windshields easier with fewer potential failure points.
Inspect mounting screws and hardware every three months or after driving on rough terrain. Vibration loosens fasteners over time, so regular checks prevent rattling and maintain secure attachment.
Overtightened mounting screws create stress fractures that propagate under vibration and temperature changes. Tighten hardware only until snug, avoiding excessive force that damages the material.
Explore our store to see what our products and resources can do for you.

Leave a comment