


Your Cart Is Our Priority
Explore our store to see what our products and resources can do for you.

TL;DR:
- Understanding core electrical components helps owners diagnose issues and make smarter upgrades.
- Proper wiring, maintenance, and routine checks extend golf cart system lifespan and performance.
- Building confidence through familiarity prevents unnecessary shop visits and empowers DIY repairs.
Most golf cart owners assume electrical systems are strictly mechanic territory. That assumption costs money. When you understand how your cart’s electrical system actually works, you catch problems early, avoid unnecessary shop visits, and make smarter decisions about upgrades. The basics are not complicated. Batteries, wiring, a controller, and a solenoid work together in a logical sequence that any owner can learn. This guide walks you through each core component, explains how power flows through the system, shows you how to diagnose common problems, and outlines the maintenance habits that keep your cart running strong for years.
| Point | Details |
|---|---|
| Know your components | Understanding each electrical part makes troubleshooting and upgrades easier. |
| Series wiring matters | Correct battery wiring directly affects your cart’s power and reliability. |
| Routine checks prevent issues | Monthly maintenance keeps your golf cart running smoothly and avoids costly repairs. |
| Troubleshoot with confidence | Basic tools and simple tests let you solve most electrical problems yourself. |
| Quality upgrades boost performance | Choosing the right parts and voltages can safely improve speed and power. |
With the stage set, it’s time to break down what actually powers and manages your golf cart’s movement. Every electrical problem you’ll ever face traces back to one of four main components: the battery bank, the controller, the solenoid, or the wiring. Know what each one does and you’ve already won half the battle.
Batteries are the foundation. They store and deliver electrical energy measured in voltage and amp-hours. Voltage determines how much power the cart can push, while amp-hours tell you how long the cart can run before needing a charge. Most carts run on 36V or 48V systems. If you’re deciding between setups, understanding the 36V vs 48V battery setup differences will help you choose the right configuration for your needs.
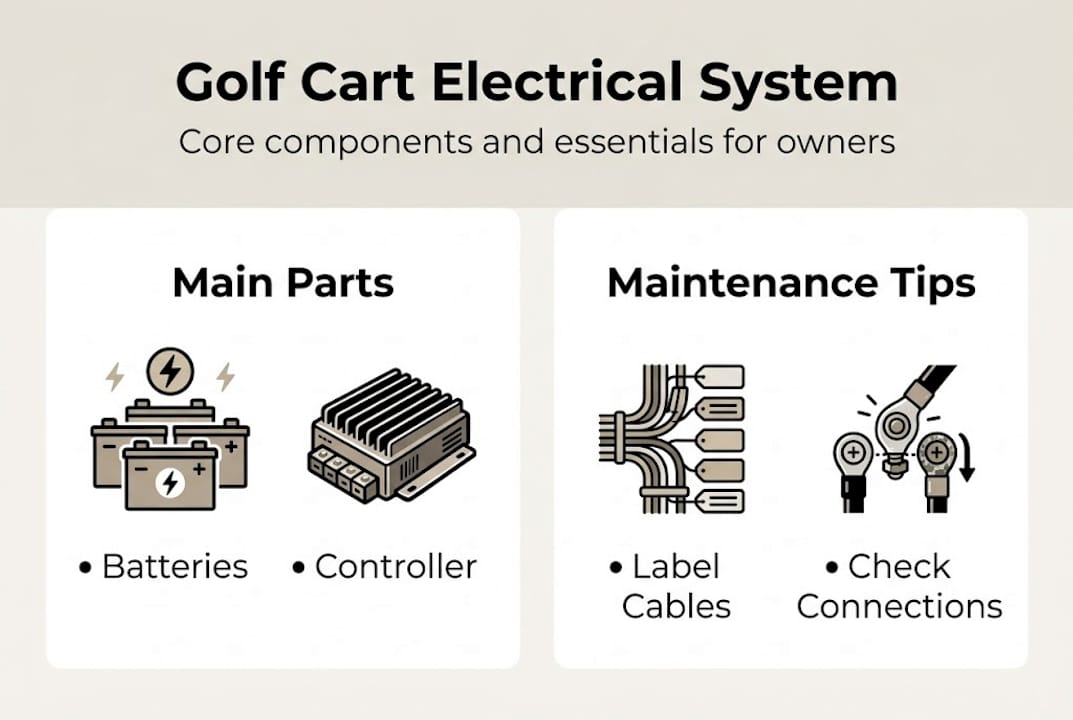
The controller is the brain of the operation. It reads input from your accelerator pedal and tells the motor how much power to use. Think of it as a precise dimmer switch for your motor. Without it, you’d have two speeds: full stop and full throttle.
The solenoid acts as a high-current relay. When you press the pedal, a small signal activates the solenoid, which then closes a circuit and allows the large current from the batteries to reach the motor. It’s a safety mechanism as much as a functional one.
Wiring ties everything together. Corroded, loose, or undersized cables create resistance, which robs performance and generates heat. Batteries connect in series to power the golf cart system, with each battery’s negative terminal linking to the next battery’s positive terminal.
Here’s a quick reference for the main components:
| Component | Primary role | Common failure sign |
|---|---|---|
| Battery bank | Stores and delivers power | Slow charging, weak performance |
| Controller | Regulates motor speed | Jerky acceleration, no movement |
| Solenoid | Switches high current on/off | Click with no movement |
| Wiring | Carries current between parts | Corrosion, heat, intermittent power |
Key things every owner should know about their batteries:
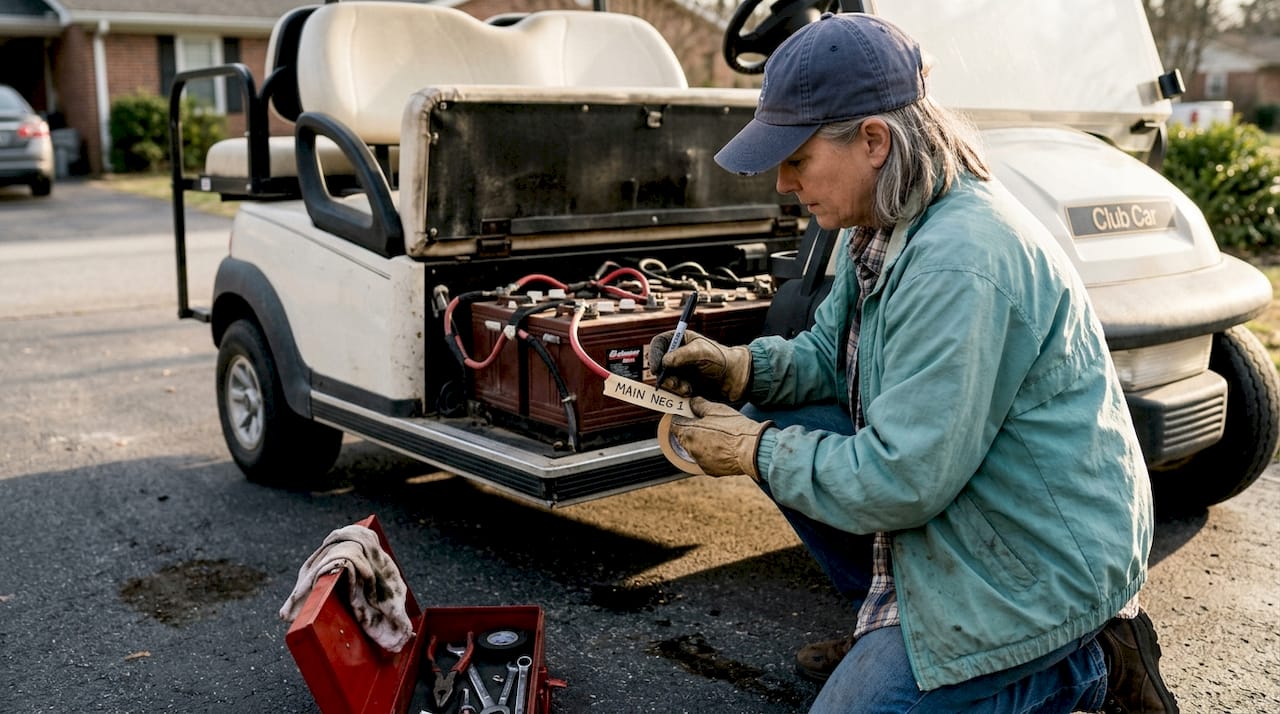
Pro Tip: Label every battery cable with a piece of tape and a marker before disconnecting anything during maintenance. Reconnecting them in the wrong order is a fast way to damage your controller.
After understanding the key parts, the next step is to see how they interact to move your golf cart down the fairway. Power doesn’t just jump from battery to motor. It follows a specific path, and knowing that path makes troubleshooting much faster.
Here’s the basic flow of current in a standard electric golf cart:
Most golf carts wire their batteries in series rather than parallel. Series wiring adds voltages while maintaining amp-hours. So six 8-volt batteries wired in series give you a 48V system. Parallel wiring would keep voltage at 8V but double the amp-hours. Series wins for golf carts because higher voltage means more torque and speed without needing thicker, heavier cables.
Voltage has a direct relationship with performance. A 48V system will outrun a 36V system on flat ground and handle hills more confidently. If you want to understand the full performance picture, our golf cart voltage guide breaks down exactly what each voltage level delivers.
Here’s how series and parallel wiring compare:
| Wiring type | Voltage effect | Amp-hour effect | Used in golf carts? |
|---|---|---|---|
| Series | Adds up | Stays the same | Yes, standard |
| Parallel | Stays the same | Adds up | Rarely |
A golf cart’s electrical system is only as strong as its weakest connection. One corroded terminal or one weak battery can drag down the entire bank’s performance.
Miswiring is more common than people think, especially after a DIY battery swap. Reversed cables can damage the controller instantly. Loose connections create voltage drops that make the cart feel sluggish even when the batteries are fully charged. If your cart feels slow despite a fresh charge, always check the connections before assuming the batteries are bad.
Now that you can see how voltage flows, let’s look at how to spot and address the electrical issues you’re most likely to encounter. Most problems fall into three categories: the cart won’t start, the cart cuts out during use, or the cart runs but feels weak.
Common symptoms and their likely causes:
Individual batteries in a series may be the source of system failure, which is why testing each battery separately matters. A single weak battery in a six-battery bank will drag down the entire system.
Here’s a practical diagnostic sequence:
Pro Tip: Always disconnect the main negative battery cable before inspecting or handling any wiring. Even a brief accidental short can damage your controller or solenoid beyond repair.
Know when to stop and call a professional. If you’ve confirmed the batteries and wiring are fine but the cart still won’t move, the controller or motor likely needs professional diagnosis. Controllers especially are sensitive to improper testing and can be damaged by incorrect voltage application.
Effective troubleshooting goes hand-in-hand with routine care. Here’s how to keep your system in top shape day to day. Regular inspection and maintenance can prevent most common electrical system failures, which means the time you invest monthly pays off in avoided repairs.
Your routine maintenance checklist should include:
Battery charging habits matter more than most owners realize. Always charge after every use, even if you only ran the cart for 20 minutes. Letting batteries sit in a partially discharged state accelerates sulfation, which permanently reduces capacity. For deeper guidance on regular maintenance benefits, the data on lifespan extension is worth reviewing.
Seasonal care is just as important. Before storing a cart for winter, fully charge the batteries, disconnect the main negative cable, and store the cart in a dry location. Check the charge every 30 days during storage. Spring startup should include a full inspection of all connections before the first ride.
Using the correct charger is non-negotiable. A 48V charger on a 36V system will damage your batteries and potentially your controller. Review proper charger maintenance steps to make sure your charging setup is matched correctly to your system.
Here’s the honest truth: most owners are not intimidated by the work itself. They’re intimidated by the idea that they might make things worse. That fear is understandable, but it’s also what keeps people paying for shop visits that a basic multimeter test would have resolved in five minutes.
The real gap isn’t technical knowledge. It’s confidence built through familiarity. Every time you check your battery water, clean a terminal, or trace a cable with your hands, you’re building a mental map of your system. That map is what lets you notice when something is off before it becomes a breakdown.
We’ve seen owners tackle golf cart upgrade ideas that seemed advanced, simply because they had spent time understanding their baseline system first. High-performance controllers, lithium battery conversions, and custom lighting setups all start with the same foundation: knowing where your cables go and what your voltages should read.
Consistency beats expertise every time. A cart maintained by an attentive owner who checks connections monthly will outlast one serviced annually by a professional. The electrical system rewards attention, not credentials.
With a solid foundation in electrical basics, you’re ready to give your golf cart the upgrades, accessories, and care it deserves.

At Golf Cart Stuff, we carry everything you need to maintain, repair, and upgrade your cart’s electrical system and beyond. Whether you’re shopping for accessories for your golf cart, sourcing Club Car DS parts, or looking for EZGO parts and accessories, our catalog is organized by make and model so you find compatible parts fast. We stock trusted brands, and our team understands golf cart systems at the component level. You now know what to look for. We make it easy to find it.
Loose or corroded battery connections are the most frequent culprit, often causing power loss or intermittent operation. Batteries connect in series with each connection point being a potential failure spot if not maintained.
A failing battery will charge slowly, lose charge quickly, or cause the cart to hesitate and lose power, especially on hills. Individual batteries in a series can fail independently, so test each one rather than assuming the whole bank is fine.
Yes, increasing operating voltage and upgrading the controller and wiring can boost speed, but you must match components carefully. Series wiring adds voltages while keeping amp-hours constant, so any voltage upgrade requires compatible controller and motor ratings.
Monthly checks of battery water level, terminal tightness, and visible wiring condition are recommended for reliable operation. Regular inspection and maintenance can prevent most common electrical system failures before they strand you on the course.
Explore our store to see what our products and resources can do for you.

Leave a comment