


Your Cart Is Our Priority
Explore our store to see what our products and resources can do for you.

TL;DR:
- Regular tire rotation extends golf cart tire life by up to 25% and maintains handling.
- Use proper tools, safety measures, and correct rotation patterns based on tire type.
- Routine rotation helps identify small problems early, saving money and reducing safety risks.
Uneven tire wear is one of the most common and most avoidable problems golf cart owners face. When your front tires carry more load through turns and your rear tires handle the drive force, each set wears at a completely different rate. Skip rotation long enough and you’re looking at premature tire replacement, a rougher ride, and handling that feels off. The good news is that tire rotation is a straightforward DIY task that takes less than an hour and pays off every time you get behind the wheel. This guide walks you through why it matters, what tools you need, the exact steps to follow, and how to avoid the mistakes that trip up most first-timers.
| Point | Details |
|---|---|
| Prevents uneven wear | Routine rotation helps all four tires wear evenly, reducing the cost and risk of early replacement. |
| Simple DIY process | With basic tools and step-by-step guidance, most owners can rotate tires at home safely. |
| Boosts performance | Proper rotation improves traction, ride comfort, and extends your golf cart’s usable life. |
| Troubleshooting matters | Knowing common mistakes and how to avoid them adds confidence to your maintenance routine. |
Your golf cart’s tires don’t wear evenly on their own. The front tires steer and absorb the brunt of turning forces, while the rear tires deal with drive torque on gas and electric models. Over time, this creates a noticeable difference in tread depth between axles. Left unchecked, that difference shortens the life of your tires and makes your cart harder to control.
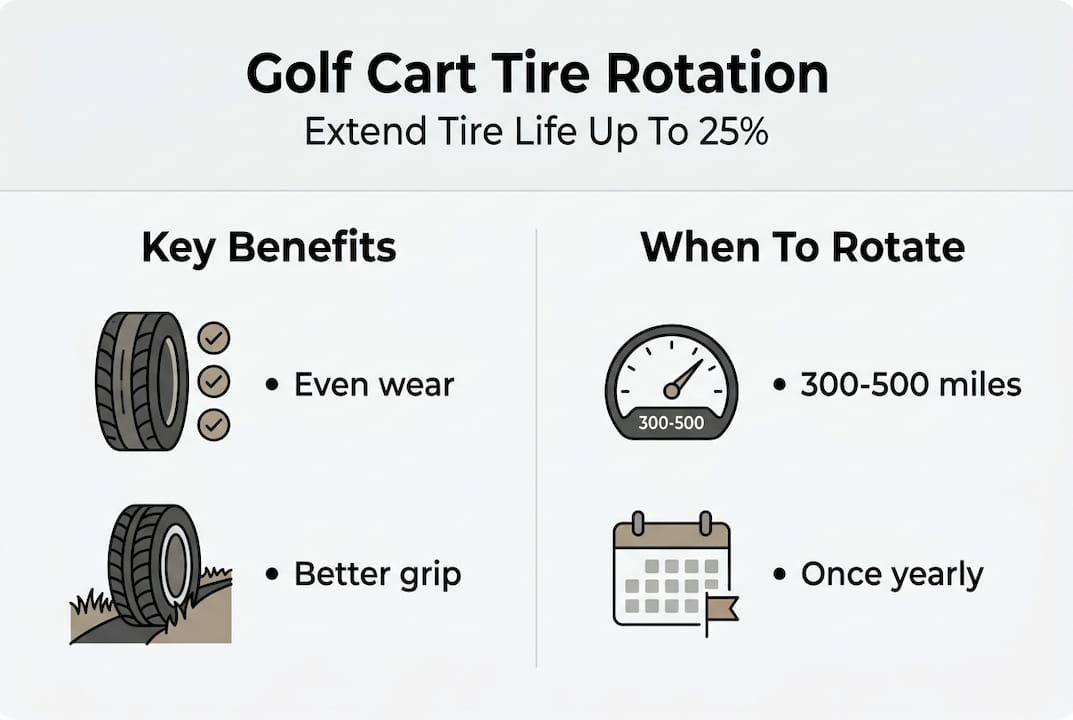
Rotating your golf cart’s tires regularly can extend tire life by up to 25%, which is a significant saving when you consider that a full set of replacement tires isn’t cheap. That number alone should make rotation a non-negotiable part of your regular maintenance schedule.
Warning signs that your tires need rotation:
As a rule of thumb, rotate your golf cart tires every 300 to 500 miles or once a year, whichever comes first. If you use your cart daily on a course or community path, you’ll hit that mileage mark faster than you think. Seasonal or weekend riders can usually stick to the annual schedule.
The payoff goes beyond just saving money on tires. Even tread depth across all four tires means consistent grip, predictable handling, and a smoother ride. It also gives you a chance to inspect each tire up close for cracks, embedded debris, or sidewall damage you might otherwise miss. Think of rotation as a built-in inspection that keeps small problems from turning into big ones.
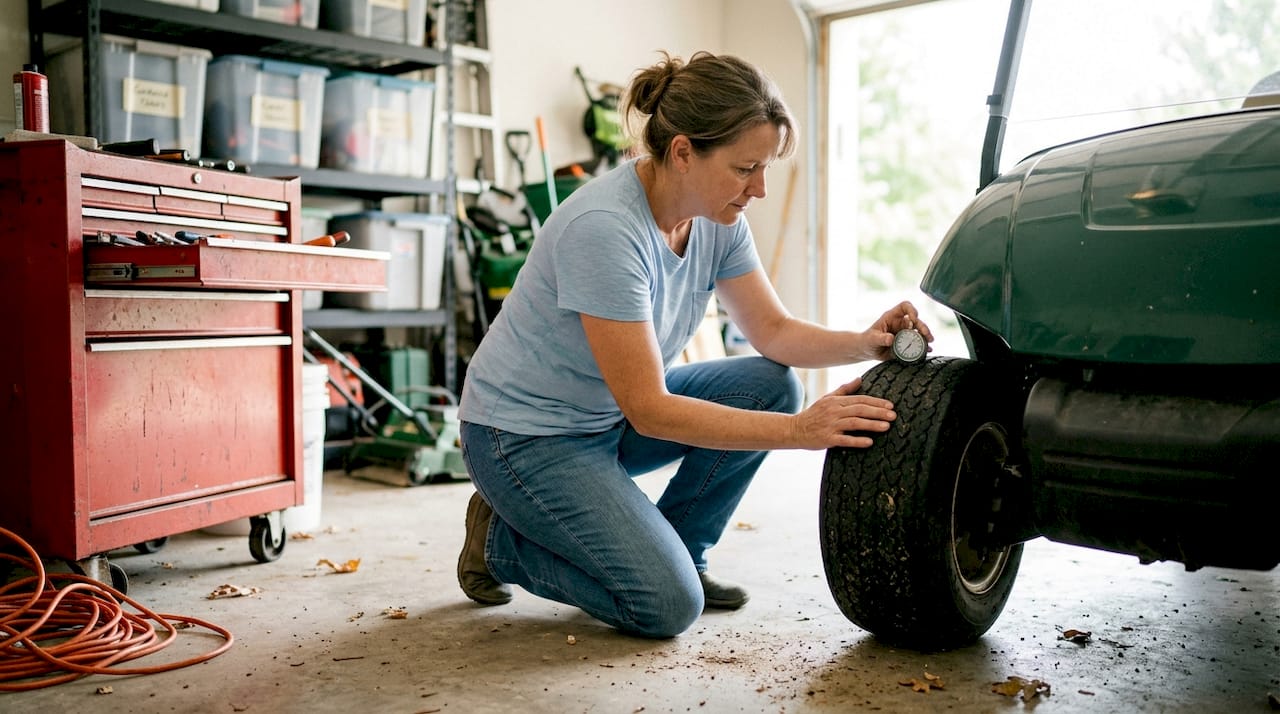
One more thing worth noting: golf carts operate at lower speeds than passenger vehicles, but that doesn’t make tire condition any less important. On hilly terrain or wet paths, worn tires lose traction fast. Staying on top of rotation is one of the simplest ways to keep every ride safe.
Before you do anything, make sure you have the right tools and know the basic safety steps. Rushing into a tire rotation without proper preparation is exactly how you end up with a stripped lug nut or a cart that tips off an unstable jack.
Tools you’ll need:
| Tool category | Basic kit | Best practice kit |
|---|---|---|
| Lifting | Scissor jack | Hydraulic floor jack |
| Support | Wood blocks | Rated steel jack stands |
| Tightening | Standard socket wrench | Calibrated torque wrench |
| Safety | Wheel chocks | Chocks plus parking brake engaged |
| Labeling | Chalk | Tire crayon (weather-resistant) |
Properly using jack stands is a critical safety requirement during any DIY golf cart service. Never rely on a jack alone to hold the cart while you work underneath or near the wheels.
Safety prep steps before you start:
Pro Tip: Before removing any tire, use your chalk or tire crayon to label each one with its position: LF (left front), RF (right front), LR (left rear), RR (right rear). This takes ten seconds and prevents the most common rotation mistake, which is putting a tire back in the wrong spot.
For a deeper look at safe lifting and installation techniques, the tire installation tips in our blog walk through the process with additional detail. If you’re newer to DIY cart work, our golf cart maintenance guide is a solid starting point for building your skills.
Safety reminder: Never work under a golf cart supported only by a jack. Always lower the cart onto rated jack stands before you remove any tire.
Let’s walk through the process, step by step, with DIY tips for added confidence.
Loosen the lug nuts before jacking. With the tire still on the ground, use your socket wrench to break the lug nuts loose by about a half turn each. The ground contact keeps the wheel from spinning. Don’t remove them yet.
Jack up one corner at a time. Place your jack under the frame near the tire you’re starting with. Lift until the tire clears the ground by a few inches, then lower the cart onto a jack stand. Repeat for each corner you plan to work on.
Remove the tires and follow your rotation pattern. This is where your labeling pays off. Move each tire to its new position according to the pattern that fits your cart.
Mount each tire and hand-tighten the lug nuts. Get all the lugs snug by hand before using your wrench. This keeps the wheel seated evenly.
Lower the cart and torque the lug nuts. Once the tire is back on the ground, use your torque wrench to tighten in a star pattern (not a circle) to the manufacturer’s spec, usually between 55 and 80 ft-lbs for most golf carts.
Repeat for each position, then do a final check. Go around the cart and confirm every lug nut is torqued correctly.
Common rotation patterns:
| Pattern name | Front left goes to | Front right goes to | Rear left goes to | Rear right goes to |
|---|---|---|---|---|
| Forward cross | Rear left | Rear right | Front right | Front left |
| Rearward cross | Rear right | Rear left | Front left | Front right |
| Side-to-side | Front right | Front left | Rear right | Rear left |
Following rotation patterns suited for your golf cart model preserves ride quality and prevents accelerated wear on any single tire. Check your owner’s manual or our wheel guide if you’re unsure which pattern applies to your cart.
Pro Tip: After torquing, drive the cart slowly for about 50 feet, stop, and recheck the lug nuts. New installations can settle slightly, and a quick recheck takes only a minute.
Even with a good plan, mistakes can happen. Let’s cover what to watch for and avoid.
Top mistakes DIYers make during tire rotation:
Incorrect torqueing or pattern choice can lead to steering issues or rapid tread wear, which defeats the entire purpose of rotating in the first place.
What to do if problems appear after rotation:
If you notice that one or more tires are worn down to the wear bars (the small raised ridges inside the tread grooves), rotation won’t fix the problem. Check our guide on tire replacement signs to know when it’s time for a new set. Understanding golf cart tire sizes before you buy replacements will also save you from a frustrating fitment mistake.
Safety warning: Always recheck lug nut torque after the first 25 to 50 miles following any tire rotation. Wheels can settle slightly after initial installation, and a loose lug nut is a serious safety hazard.
Here’s something most maintenance articles won’t tell you directly: the golf cart owners who spend the most money on tires are almost never the ones who push their carts the hardest. They’re the ones who skip the small, boring tasks like rotation because nothing seems wrong yet.
Conventional wisdom treats golf cart tires as a “replace when flat” item. That mindset can easily double your tire costs over the life of the cart. A simple rotation schedule, done every 300 to 500 miles, keeps wear even and gives you a clear picture of your tires’ condition at all times.
We’ve seen it consistently: cart owners who commit to routine rotation also catch other problems early, from loose hardware to developing cracks, because they’re actually looking at their tires up close on a regular basis. That’s the real value. It’s not just about the tires. It’s about building a habit that helps you extend your golf cart’s life across every system, not just the rubber on the ground. Reactive maintenance always costs more, in time, money, and frustration, than a consistent preventive routine.
Ready to tackle your next project? Here’s where to find reliable parts and support.
Whether you’re stocking up on tools, shopping for a fresh set of tires, or tracking down a specific part for your model, Golf Cart Stuff has you covered.

Browse our full selection of golf cart accessories to find everything from torque wrenches to wheel hardware. If you drive a Club Car, our dedicated Club Car DS parts catalog makes it easy to find exactly what fits your cart. We stock parts for the most popular models and back every order with knowledgeable support for DIYers who want to get the job done right the first time.
Rotate golf cart tires every 300 to 500 miles or once a year, whichever comes first, to maximize tire life and keep handling consistent.
Look for unusual tread wear patterns, vibration while driving, or visible cupping on the tread; these all signal it’s time to rotate before the problem gets worse.
No. The best pattern depends on your cart’s model and whether your tires are directional or non-directional, so always check before you start. Different carts need different patterns based on wheel and tire type.
A basic toolkit including a socket wrench, jack, and jack stands is enough for most DIY tire rotation jobs; specialized shop equipment helps but isn’t required.
Explore our store to see what our products and resources can do for you.

Leave a comment