
Your Cart Is Our Priority
Explore our store to see what our products and resources can do for you.

Most carts built in the last decade use a sealed hub assembly, so a bad bearing usually means replacing the whole hub, not just pressing in a new race. Older EZ-GO, Club Car, and Yamaha models often still run serviceable bearings you can grease and press separately. Either way, your next move is the same: confirm your hub type and model year before you order anything. If you’re hearing grinding or feeling real wheel play, stop driving it and fix it now.
TL;DR:
- Using the correct model year, bolt pattern, and spline count is essential to ensure proper fit and avoid costly returns or failures.
- Symptoms like noise, wheel play, grease leaks, or uneven tire wear indicate a failing wheel bearing that needs immediate attention.
- Replacing bearings or hubs involves using proper tools, following torque specifications, and avoiding over-tightening to prevent premature failure.
- Regular maintenance includes repacking serviceable bearings with high-temperature grease and re-torquing lug nuts after initial use.
- Ordering parts through trusted sellers based on precise vehicle and hub specifications reduces the risk of mismatched components and repeated repairs.
Ordering the wrong part is the single most common reason golf cart owners end up making two trips to the mail slot instead of one. Bolt pattern and spline count are the two numbers that matter most, and they’re not always what you’d guess from looking at the cart.
Start with your model and year, usually stamped on a plate under the seat or on the frame near the front axle. That data point narrows down whether you’re dealing with a sealed hub or a serviceable bearing setup, and it’s the first thing any parts counter will ask for.
Bolt pattern refers to the number of lug studs and the diameter of the circle they sit on. Most golf carts run a 4 on 4 pattern, but variations exist across model years, and getting this wrong means the wheel simply won’t sit flat. You can measure it yourself with a tape measure across the studs, and Golfcartstuff’s guide to bolt pattern walks through the exact technique.
Spline count matters for carts with driven front or rear hubs, since the hub has to mesh with the axle shaft. Get the spline count wrong and the hub will spin freely on the shaft, or won’t seat at all.
A few brand-specific notes worth knowing:
A single serviceable bearing typically runs $15 to $50 depending on brand and application, while a complete sealed hub assembly costs more and varies by supplier and availability. Golfcartstuff’s guide to hub function and upgrades covers how to tell which type your cart uses before you buy.
A failing bearing rarely fails quietly, and the noise usually gets worse as speed increases. Here’s how to confirm it before you assume the worst, or the wrong part:
If you feel real looseness in the wheel or hear metal-on-metal grinding, don’t keep driving on it. A bearing that seizes while moving can lock a wheel without warning.
Replacing a bearing or swapping a sealed hub is a manageable weekend job if you have the right tools and you respect the torque specs. Here’s the process from start to finish.
Tools and parts checklist:
Safety checklist: chock the wheels you’re not lifting, set the parking brake, and never work under a cart supported only by a jack. Lift from a solid frame point and lower the cart onto stands before doing anything else.
Common mistakes include over-tightening the axle nut (which cooks the bearing with heat) and under-tightening it (which causes wobble and premature wear again). Expect 1 to 2 hours per wheel for a DIY bearing swap with a press on hand; sealed hub replacements often go faster since there’s no pressing involved.
Pro Tip: If you don’t own a bearing press, don’t improvise with a vise and a socket. A proper press or puller avoids cracking the race, which is a mistake that turns a $30 part into a $150 lesson.
Call a shop if you’re facing stripped studs, heavy corrosion fusing the hub to the spindle, or you simply don’t have press access. Wheel safety isn’t the place to freelance a workaround.
Grease is cheap. Bearings and hubs are not. Serviceable bearings need periodic repacking with high-temperature wheel bearing grease, while sealed hubs are built to run maintenance-free until they fail outright, at which point the whole unit gets replaced.
Check your seals every time you’re near the wheels for another reason. Grease streaks on the inside of the rim or dust buildup at the seal edge both point to contamination working its way in.
Wheel studs deserve just as much attention as the bearings themselves. Over-torquing is a leading cause of stripped studs, and a light coat of anti-seize on the threads makes future removal far easier. Always torque lug nuts in a star pattern, and confirm the exact spec in your owner’s manual since it varies by brand and model.
Golfcartstuff’s maintenance checklist lays out a fuller inspection schedule if you want to build bearing checks into a routine.
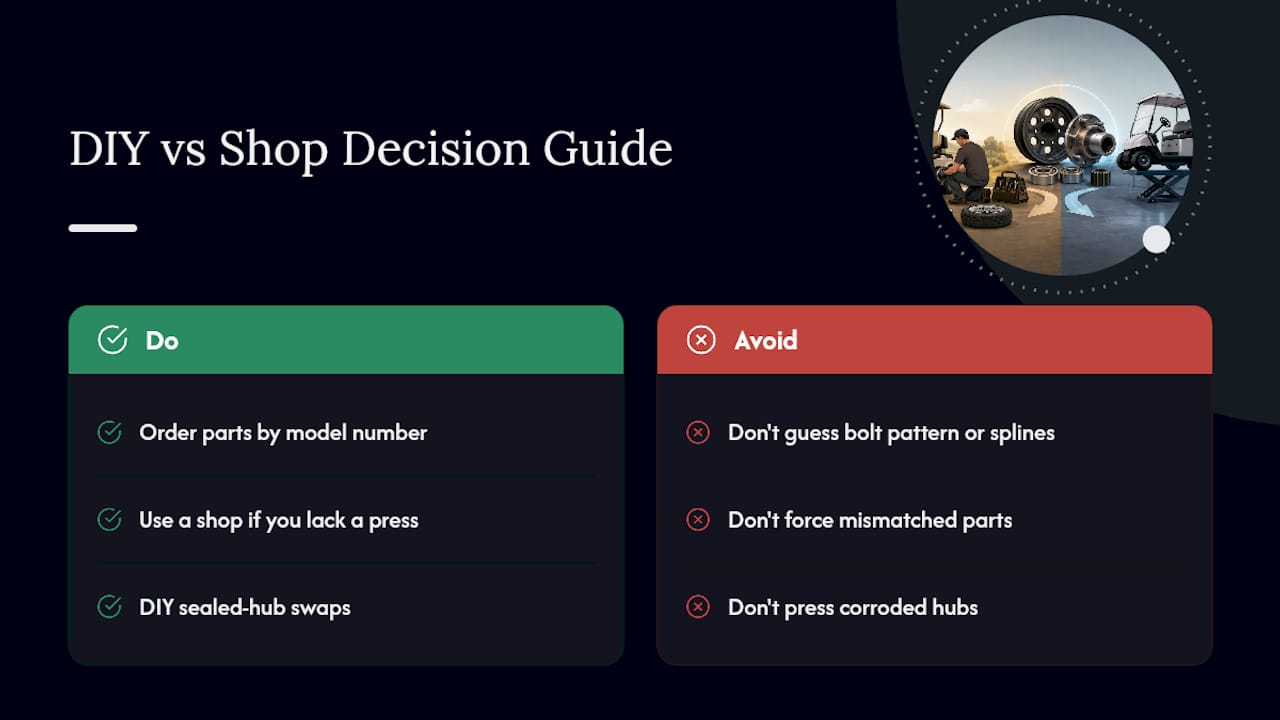
Most of the failed bearing swaps I’ve seen traced back to the same root cause: a part ordered by guesswork instead of by model number, bolt pattern, and spline count. That mismatch either forces a return or, worse, gets forced into place and fails again within a season.
Pressing a bearing correctly without cracking a race takes practice, so if you don’t own a press or you’re facing a corroded hub, paying a shop to press it is often the cheaper outcome once you count your own time and the risk of a ruined part. For a straightforward sealed hub swap, DIY is usually the right call.
— Roshan
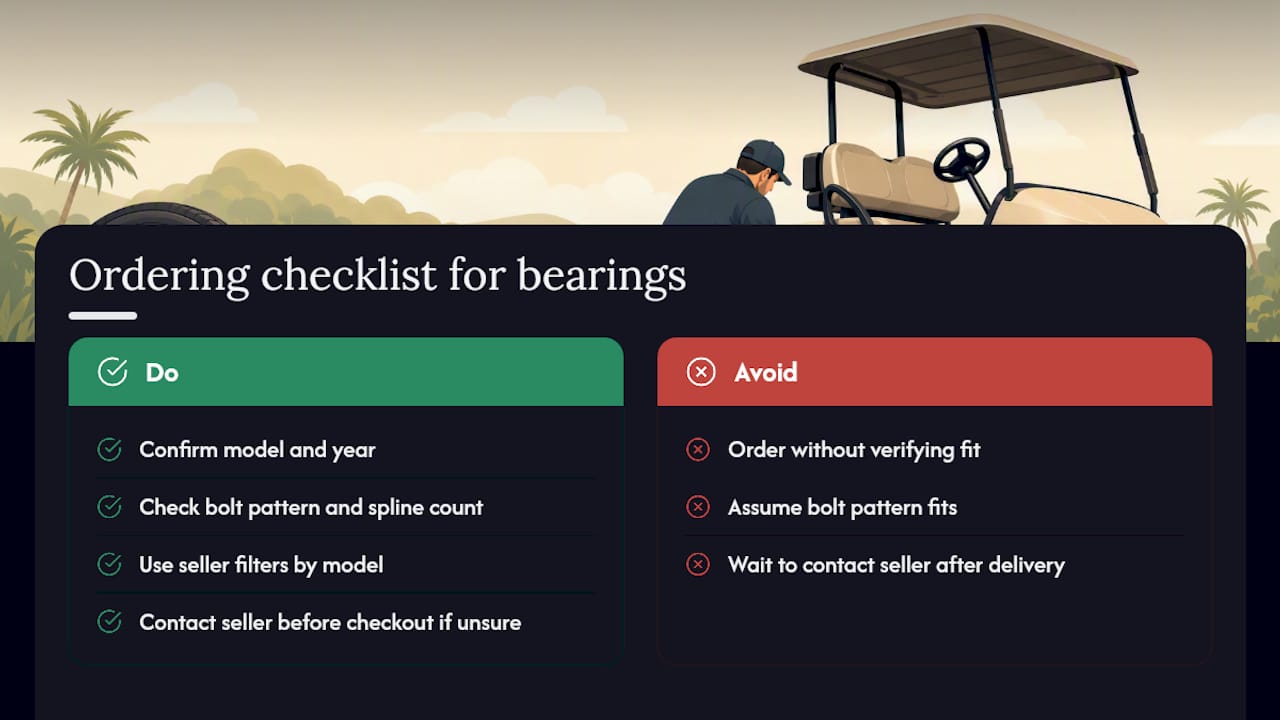
Ordering the correct bearing or hub comes down to matching three things: your model and year, your bolt pattern, and your spline count. Get those right and returns become a non issue.
There are sellers offering bearings and sealed hub assemblies filtered by brand and model to help avoid browsing incompatible parts. For Club Car DS models, Yamaha G1 through G22 carts, and EZ-GO Marathon models, the collections are organized by model line, and each listing notes the compatible bolt pattern and hub type.
Before you order, have your model number, year, bolt pattern, and (if applicable) spline count on hand. If you’re not sure which hub type your cart uses, consider reaching out to the seller through their contact options before checkout rather than after the part arrives. Getting the fit confirmed upfront can be faster than processing a return, helping get your cart back on four solid wheels sooner.
For deeper procedural detail beyond what’s covered here, these guides go step by step through specific parts of the job:
A humming or grinding noise that gets louder with speed, noticeable wheel play when rocked at the 12 and 6 o’clock positions, grease leaking at the seal, and uneven tire wear are the main warning signs.
Lift the wheel, remove the hub cap and bearing, pack the bearing with high-temperature wheel bearing grease, then reinstall and torque the axle nut to the manufacturer’s spec. Sealed hub assemblies don’t require this step since they’re factory packed and replaced as a unit.
A low hum that shifts into a grinding or growling sound as you accelerate, especially one that changes pitch when turning, usually points to a worn wheel bearing rather than a brake or CV joint issue.
Beyond bearing wear, the most frequent issues are stripped lug studs from over-torquing, loose lug nuts from skipping the star-pattern torque sequence, and seal failures that let grease escape and dirt in.
A straightforward sealed hub swap is reasonable for most DIY owners since it doesn’t require a press. Serviceable bearing jobs with stripped studs, heavy corrosion, or no press access are better left to a shop.
Explore our store to see what our products and resources can do for you.

Leave a comment