

Your Cart Is Our Priority
Explore our store to see what our products and resources can do for you.

TL;DR:
- A golf cart solenoid is an electromechanical switch that protects control circuitry by handling high-amperage power flow to the motor.
- Common signs of failure include clicking without movement, no click, intermittent power, and sluggish performance under load.
A golf cart solenoid is an electromechanical switch that uses a small control current to energize a coil, pull a plunger, and close heavy-duty contacts so battery power flows to the drive motor. Without it, your ignition switch or pedal micro switch would have to carry the full motor current, which would melt those small controls almost instantly. The solenoid keeps that high-amperage load off your control circuit entirely.
Quick signs your solenoid may be failing:
Pro Tip: Listen for the audible click when you turn the key or press the pedal. A click means the coil is energizing. No click at all points to the control circuit, not the contacts.
The solenoid runs two separate electrical paths at once. The control circuit carries a small current from your key switch or pedal switch to the solenoid coil. The load circuit carries the full battery-to-motor amperage through the main contacts.
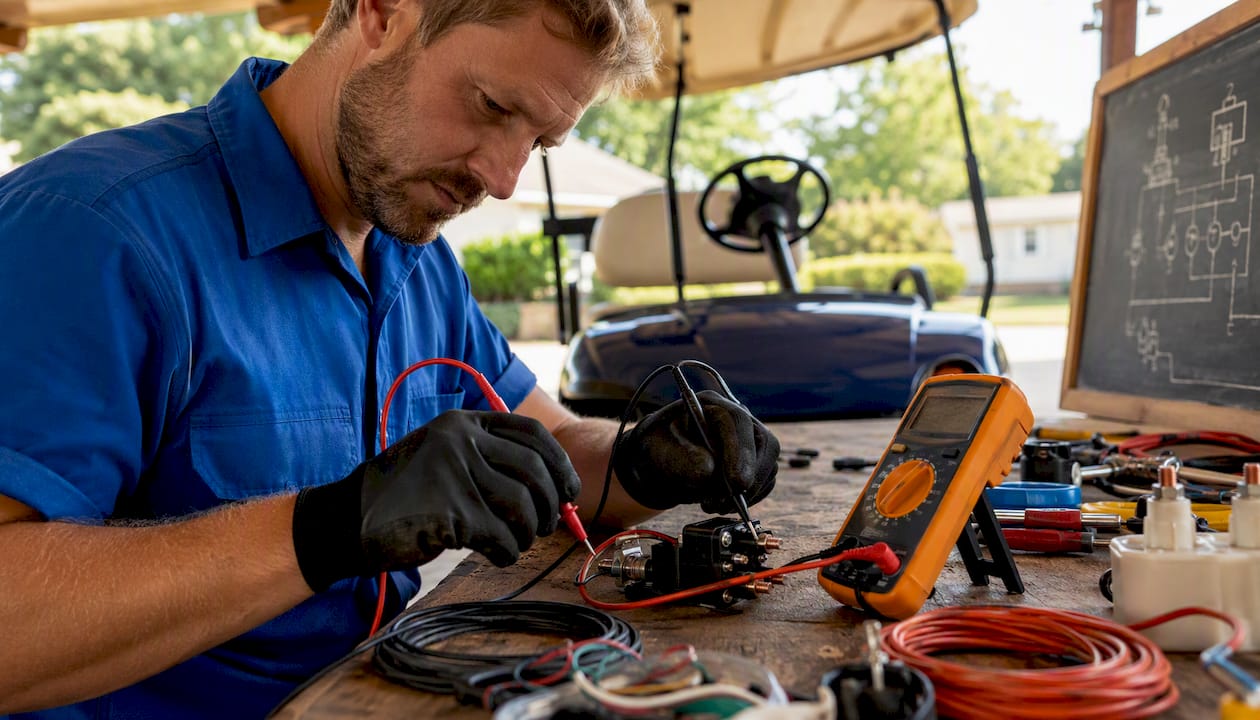
When you press the pedal, the control signal energizes the coil. That coil, wrapped in insulated copper wire) around a ferromagnetic core, generates a temporary magnetic field. The field pulls the plunger inward. The plunger pushes a contact plate across the two large load terminals, bridging them and completing the high-current path to the motor. Release the pedal, the coil de-energizes, the magnetic field collapses, and a return spring pushes the plunger back, breaking the circuit.
The four components worth knowing when you inspect one:
Pro Tip: A click confirms the coil energized, but it says nothing about whether the contacts are passing current. Always test load-side voltage after you hear the click.
A solenoid acts like a heavy-duty relay — it isolates low-current controls from the motor’s high amperage, protecting the ignition switch from damage.
Most solenoid problems show up as one of four patterns: a click with no movement, complete silence when you engage the pedal, intermittent power loss, or sluggish performance under load. Contact pitting from repeated high-current arcing and burned coils from thermal overload are the two most common failure modes.
Step-by-step diagnostic workflow:
Safety first: disconnect the battery pack before touching any terminal. Use insulated tools and wear eye protection. Golf cart battery systems carry enough current to cause serious burns from an accidental short.
For a broader look at electrical faults that can mimic solenoid failure, the golf cart wiring troubleshooting guide at Golfcartstuff walks through the full circuit systematically.
Contact wear is the most common culprit. Every time the contacts close under load, a small arc forms. Over thousands of cycles, that arcing pits and erodes the contact surface until conductivity drops. A clicking solenoid with no voltage at the motor almost always means pitted contacts, not a dead coil.
Other causes worth checking:
Getting the wrong part is the most expensive mistake you can make here. A solenoid that’s close but not right will either fail immediately or damage other components.
| Spec | What to match | Why it matters |
|---|---|---|
| System voltage | 36V or 48V (most U.S. carts) | Wrong voltage burns the coil |
| Duty cycle | Continuous-duty for drive circuits | Intermittent-rated coils overheat fast |
| Amp rating | Match or exceed OEM contact rating | Undersized contacts pit and fail quickly |
| Terminal type | Threaded posts vs. bolt-on lugs | Wrong layout means cables won’t reach |
| Housing | Sealed for wet/outdoor exposure | Open housings corrode in damp conditions |
Match replacement voltage exactly — 36V and 48V systems are the most common in U.S. golf carts, and substituting one for the other will destroy the coil. When the duty cycle isn’t printed on the original, default to a continuous-duty heavy-duty model. It handles more than an intermittent-rated part and won’t cost you a repeat repair.
Pro Tip: When in doubt, choose a continuous-duty solenoid with the correct voltage and a terminal layout that matches your existing cable positions. Overshooting on duty rating never hurts; undershooting always does.
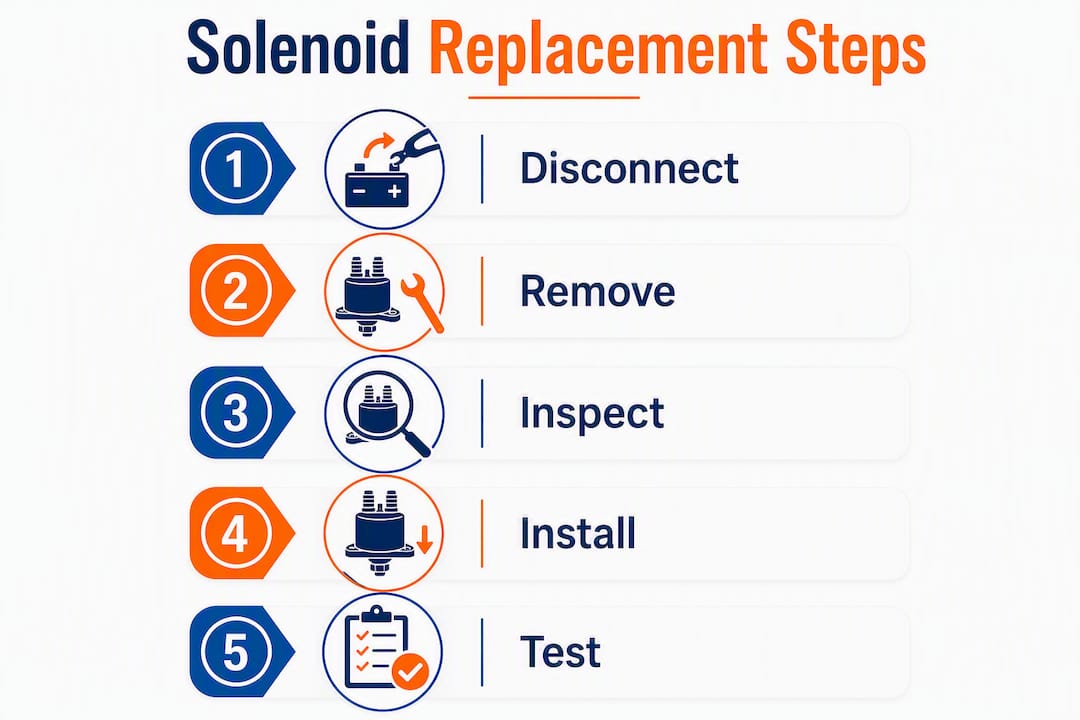
A competent DIYer can swap a solenoid in 30–60 minutes with basic hand tools. Here’s the sequence:
For a detailed photo walkthrough, Golfcartstuff’s solenoid replacement guide covers each step with visuals.
Parts cost for a golf cart solenoid in the U.S. ranges from affordable basic universal units to more expensive heavy-duty continuous-duty models with sealed housing and OEM-matched terminals. Factors that push the price up include higher voltage ratings, sealed housings, and OEM-specific terminal layouts.
DIY replacement typically requires a moderate amount of time, which may increase if it’s your first attempt or if the terminals need cleaning due to corrosion. A dealer or shop will usually complete the swap in under an hour of labor.
Things that add cost beyond the solenoid itself:
Order a set of replacement terminal connectors and anti-corrosion spray at the same time. It’s a small add-on that prevents a second trip.
Most solenoid failures are preventable. A few minutes twice a year keeps the part running reliably for years.
Pro Tip: Add a solenoid terminal check to your regular battery maintenance routine. You’re already at the electrical compartment — it takes 60 seconds to inspect and clean the posts while you’re there.
Some solenoid situations go beyond a straightforward swap. Call a dealer or certified technician when:
When symptoms point beyond the solenoid, the golf cart motor troubleshooting guide at Golfcartstuff covers the next layer of diagnostics.
A golf cart solenoid is a continuous-duty electromechanical switch that must match your system voltage, amp rating, and terminal layout exactly — getting any of those wrong leads to repeat failure.
| Point | Details |
|---|---|
| Solenoid function | Closes a high-current battery-to-motor path using a small control signal from the key or pedal. |
| Match voltage exactly | 36V and 48V are the most common U.S. systems; substituting one for the other destroys the coil. |
| Choose continuous-duty | Drive circuits demand continuous-duty solenoids; intermittent-rated units overheat and fail fast. |
| Click ≠ good contacts | An audible click confirms the coil fires, not that the contacts are passing current — test load-side voltage too. |
| Golfcartstuff parts | Golfcartstuff carries model-specific solenoids for EZGO, Club Car, and Yamaha carts with correct voltage and terminal specs. |
The solenoid is one of those components that gets ignored until the cart won’t move. What surprises most owners is how often a “dead cart” is actually a $30 part with pitted contacts, not a failed motor or a bad battery pack. The diagnostic sequence matters: confirm the click, then test load-side voltage. Skipping that second step is why people replace the wrong part.
The other thing worth saying plainly: duty cycle is not a marketing label. Using an intermittent-rated solenoid in a continuous-load drive circuit is a guaranteed repeat repair. The coil overheats, fails, and you’re back to square one. Spend a few dollars more for the continuous-duty version and you won’t think about the solenoid again for years.
Knowing your system voltage and terminal layout puts you most of the way to the right part. Golfcartstuff stocks solenoids matched to EZGO, Club Car, and Yamaha golf carts, so you’re not guessing at fitment.
Club Car owners can browse the full Club Car DS parts collection for model-specific solenoids and terminal hardware. Yamaha owners will find matched components in the Yamaha G1–G22 parts section. Not sure which part fits your cart? Use the site’s part-finder or contact Golfcartstuff’s support team directly for part-matching help, wholesale pricing, and dealer orders.
Explore our store to see what our products and resources can do for you.

Leave a comment